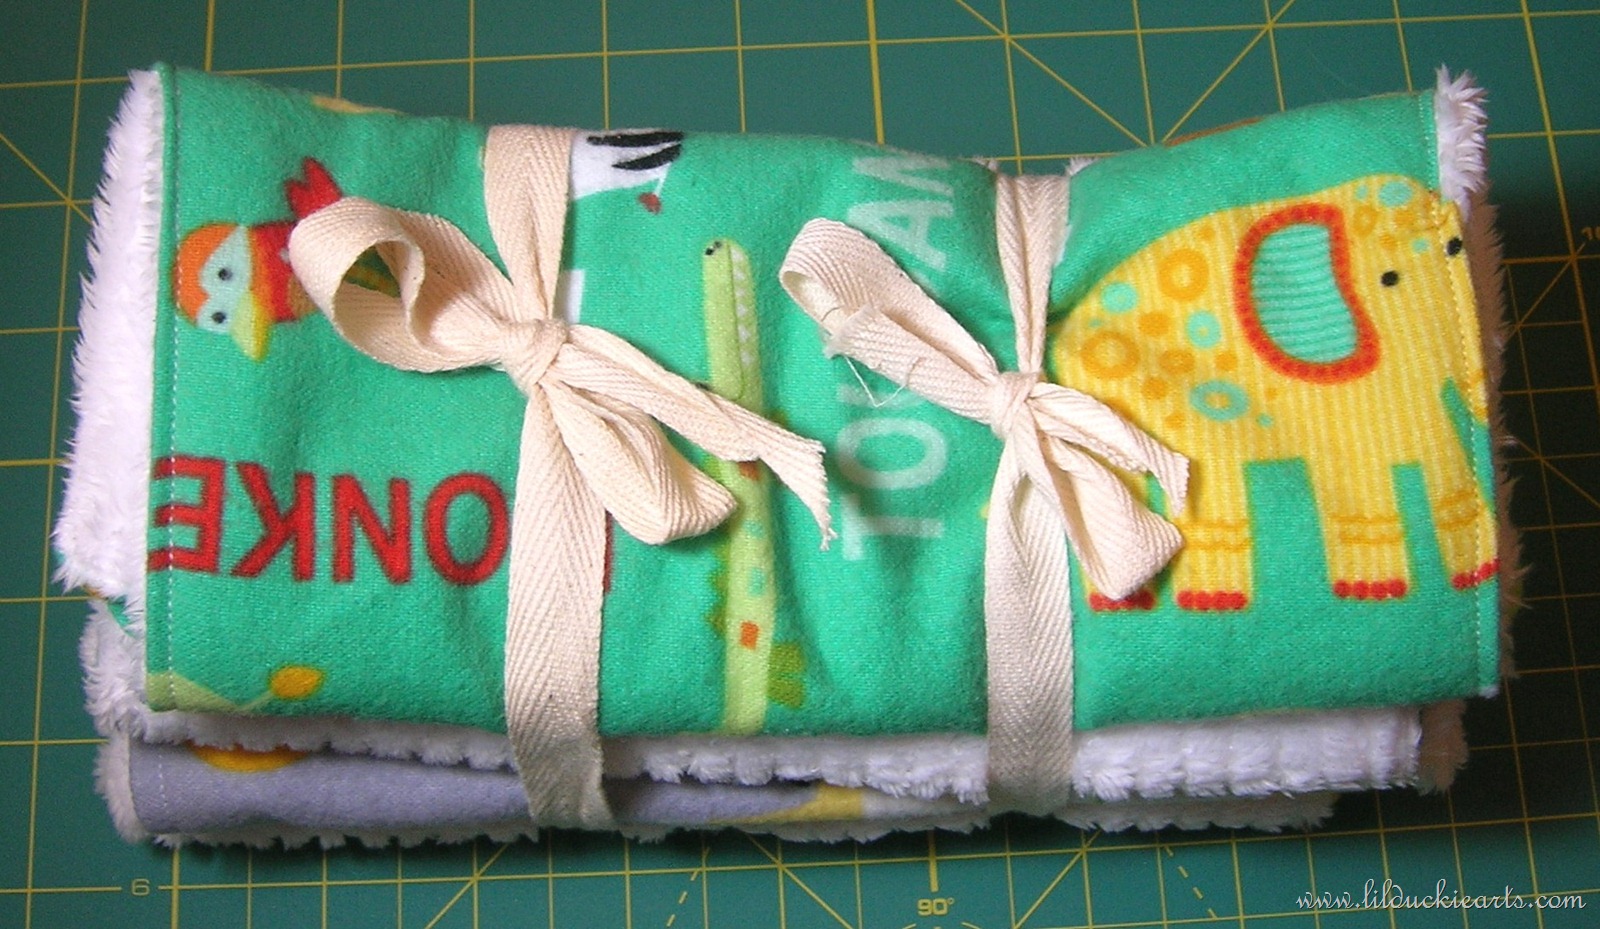
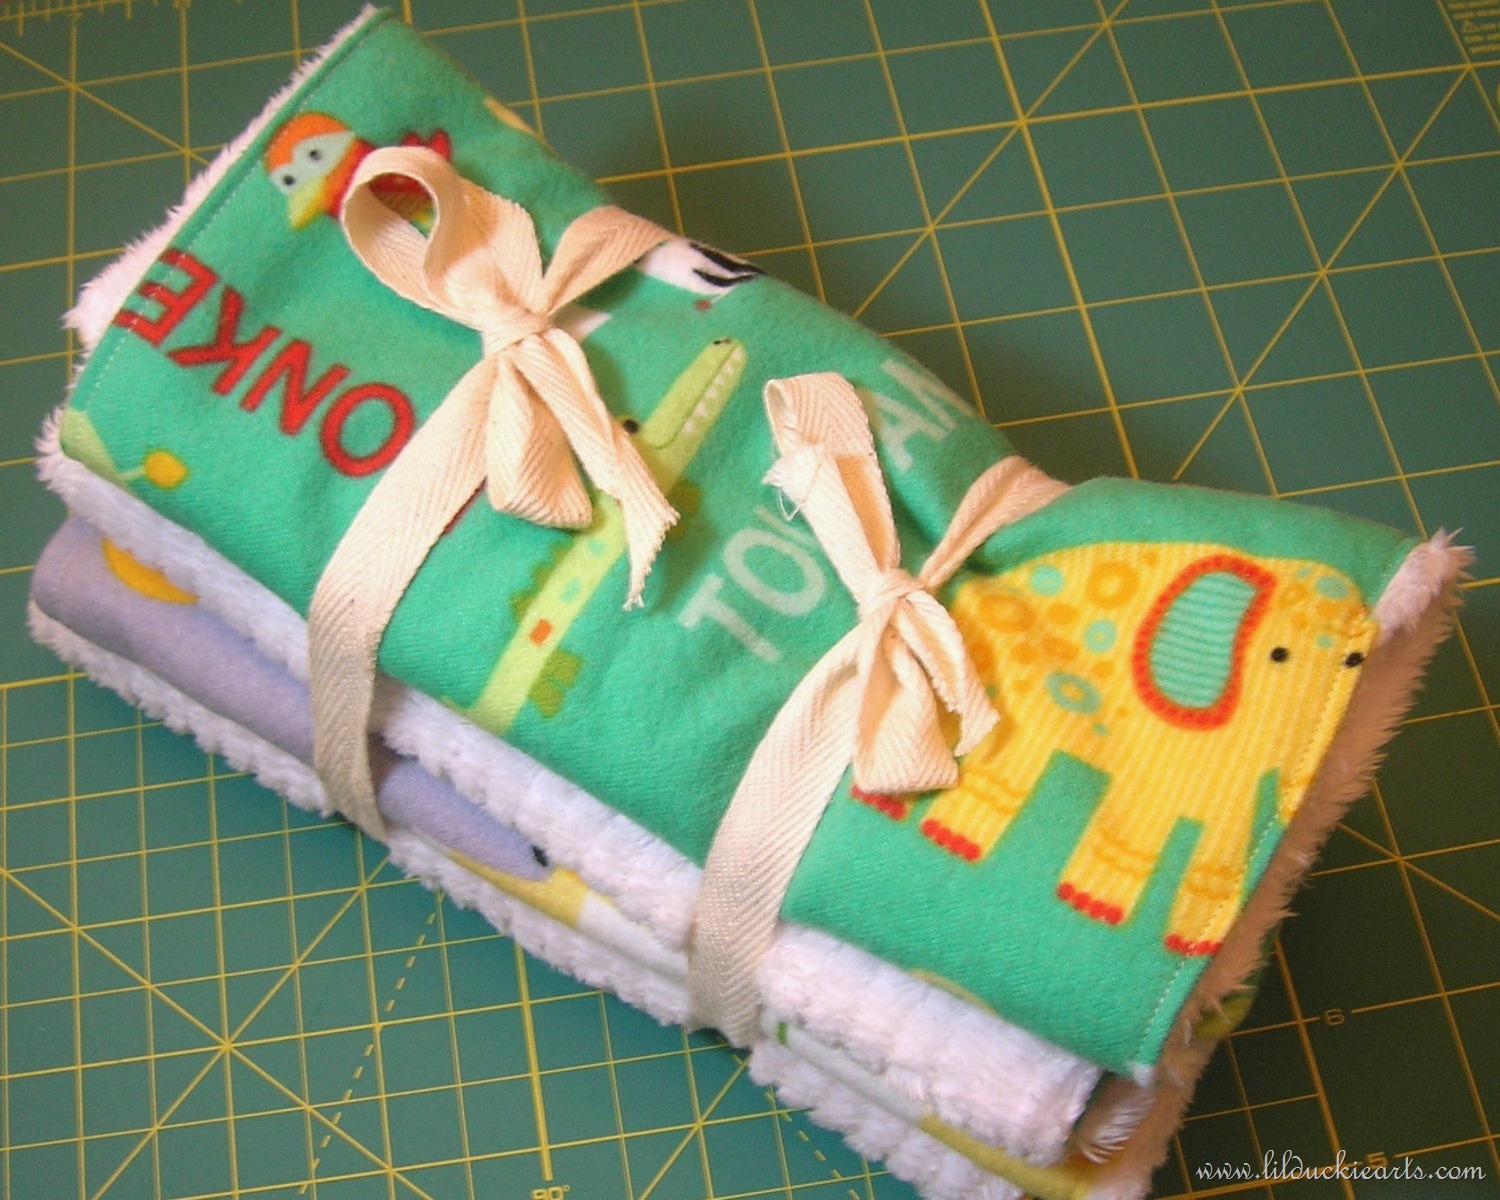
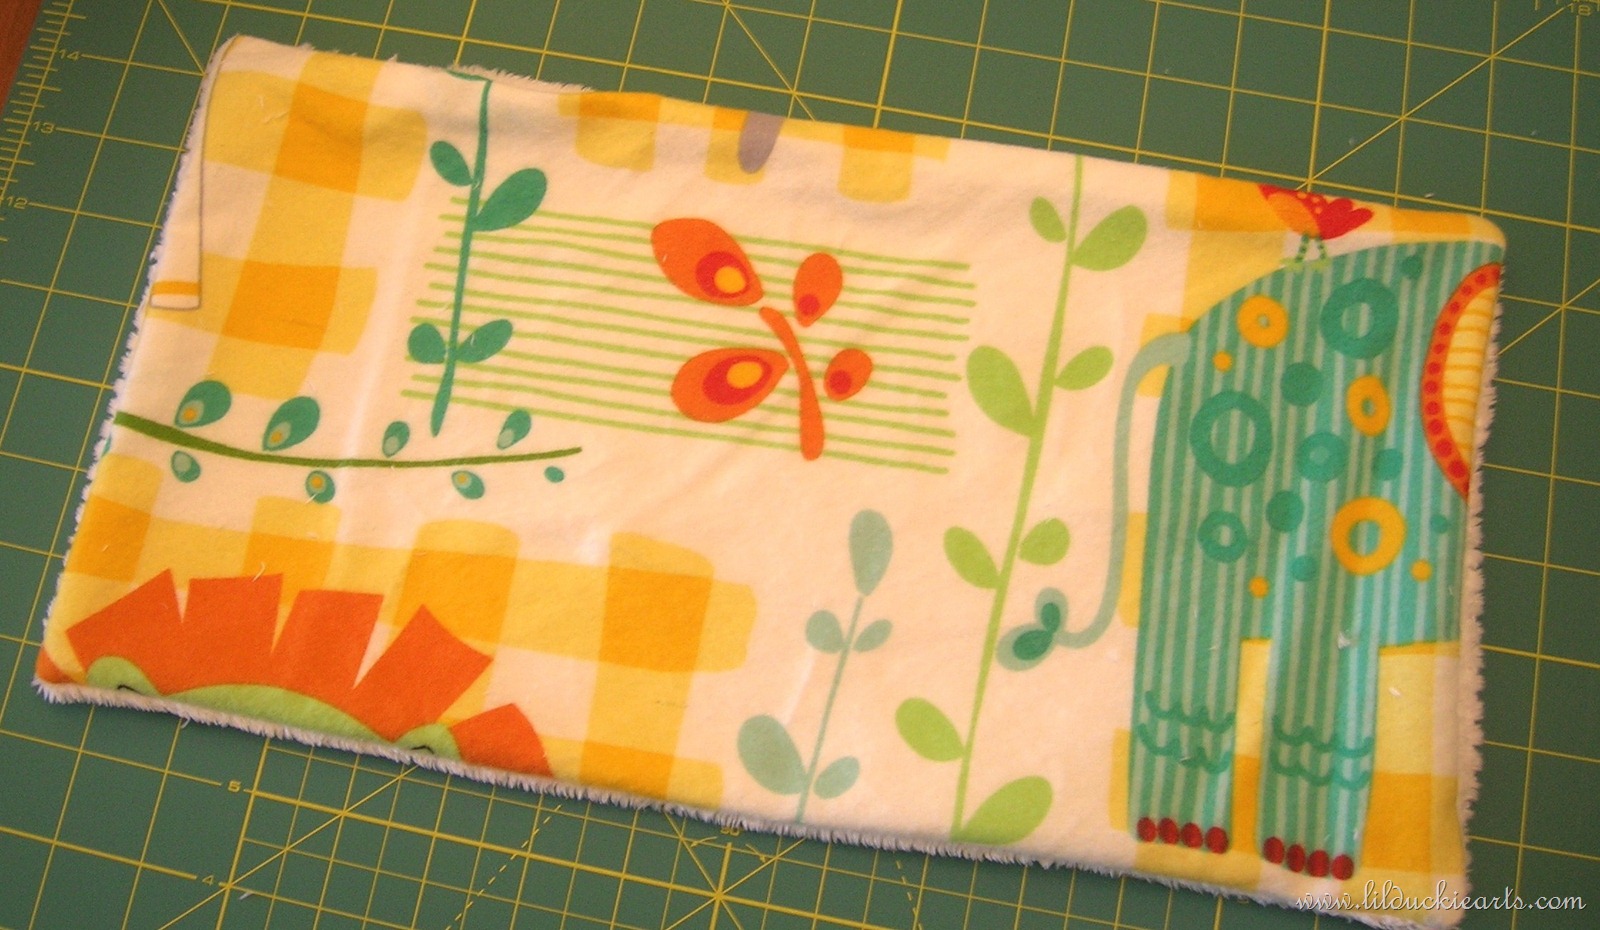
I thought I should get back to these amazingly plush and cute burp cloths that I made (with some difficulty, but that doesn’t matter – they’re too cute not to make!). They’re soft fuzzy white chenille on one side, and soft flannel on the other. The flannel helps with absorbency, which is really nice to have in a burp cloth.
You can see the original tutorial at How Does She, where they’ve used designer cotton on one side. Also super cute!
If you have a sewing machine like mine, just be patient. The chenille may have a mind of its own and slip all over the place, but you can always trim up the edges before flipping your project right side out.
My flannel’s from Fabric.com, and the chenille’s from Fabricland. They have other colours and textures if you prefer.
So, how’d I do this? Tutorial for you!
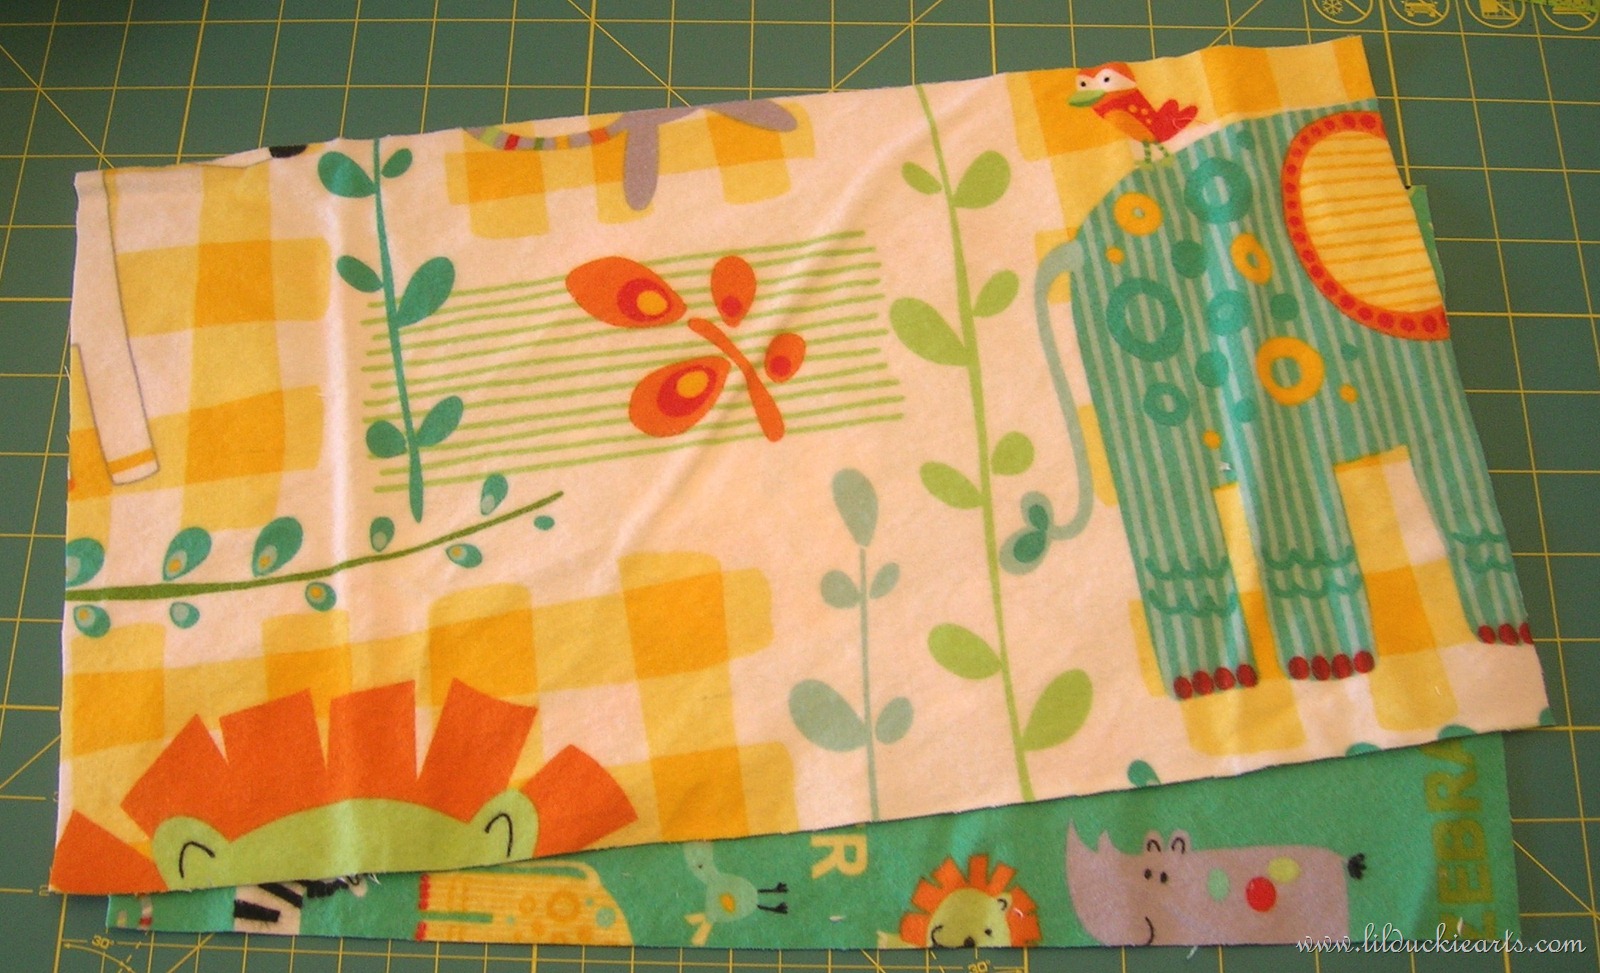
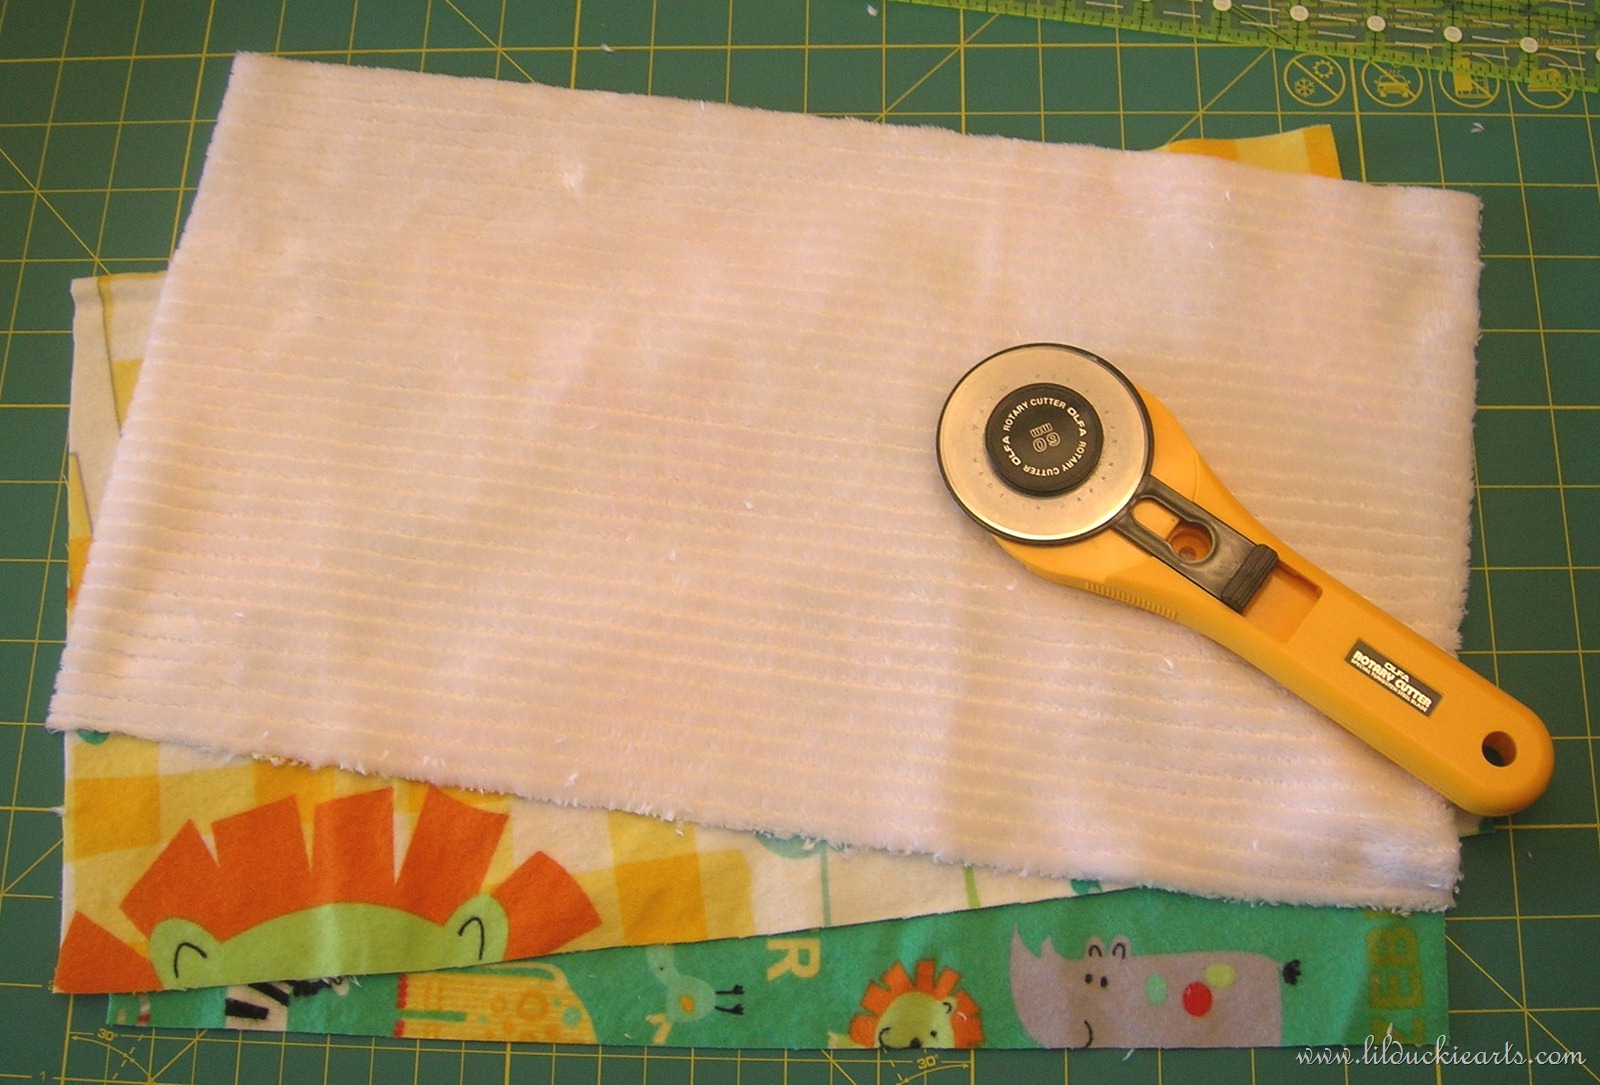
- Flannel pieces (I used 9” x 16”).
- Chenille pieces (same size as your flannel)
- Walking foot on your machine (Not necessary, but may help)
Cut your fabric to size (9” x 16”). It’s nice to make a whole bunch at a time for future gifts (or to pet, because the chenille’s so soft that you’ll want to pet it all day long).
Your chenille will leave nice little pieces of itself all over your table and your clothes! Yay chenille lint!
Pin “right” sides together. Don’t get all tired and forget about this! Fuzzy side of chenille facing pretty side of flannel.
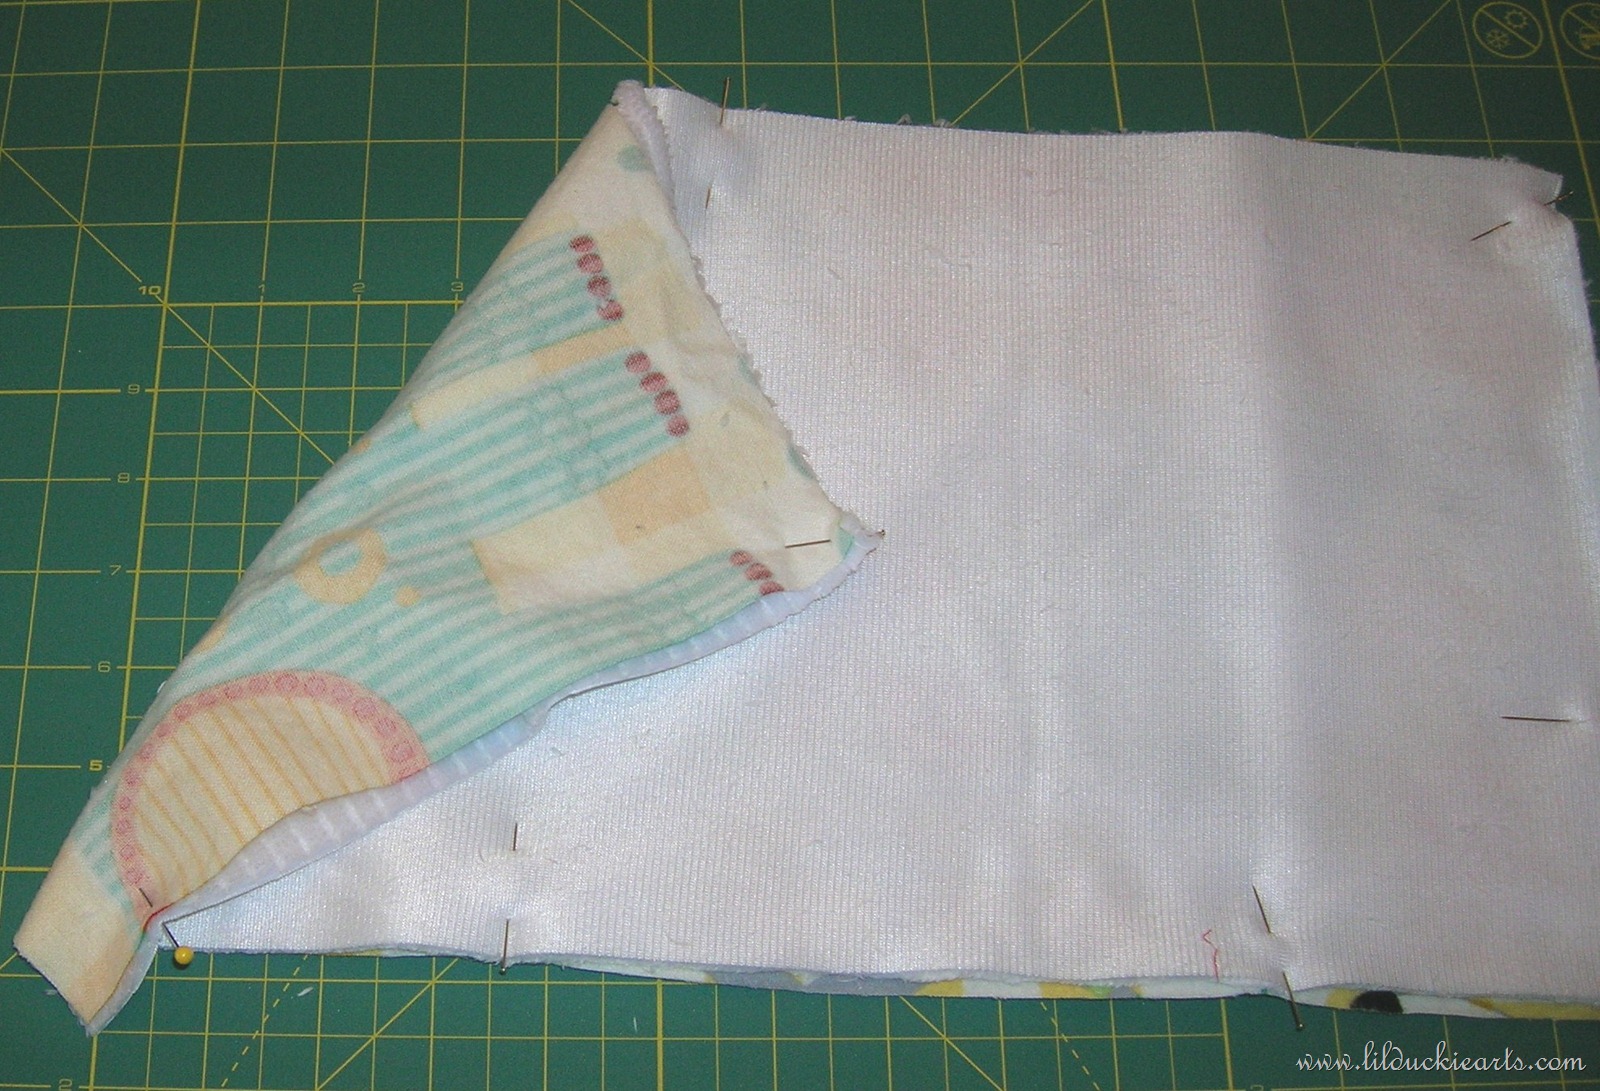
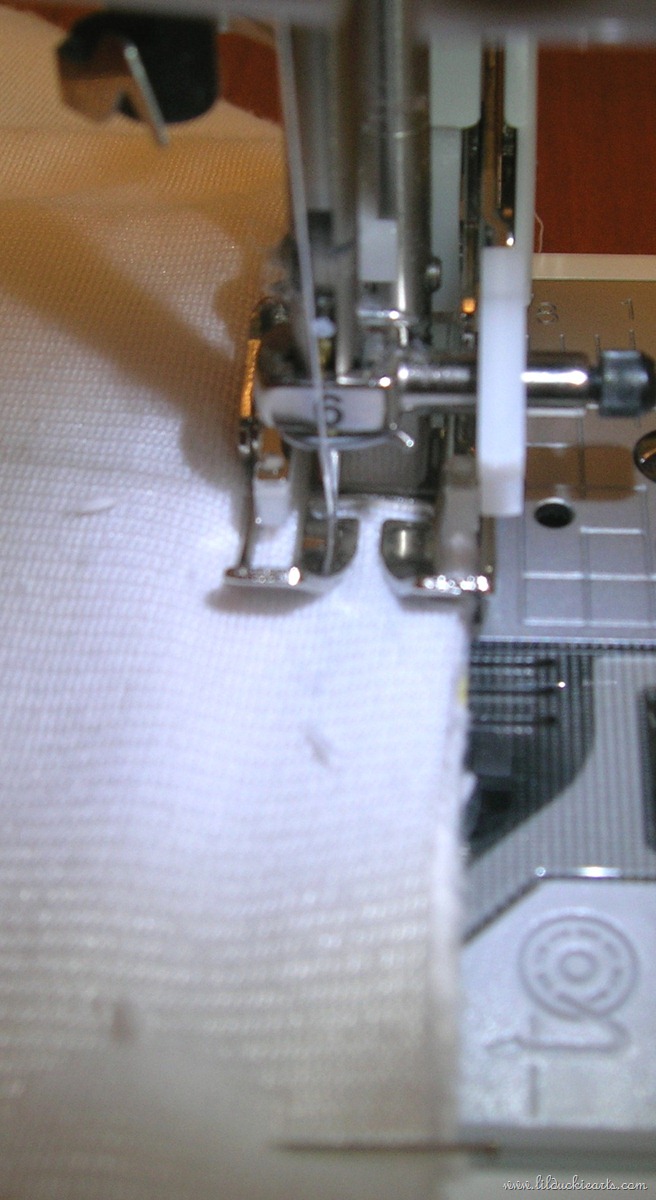
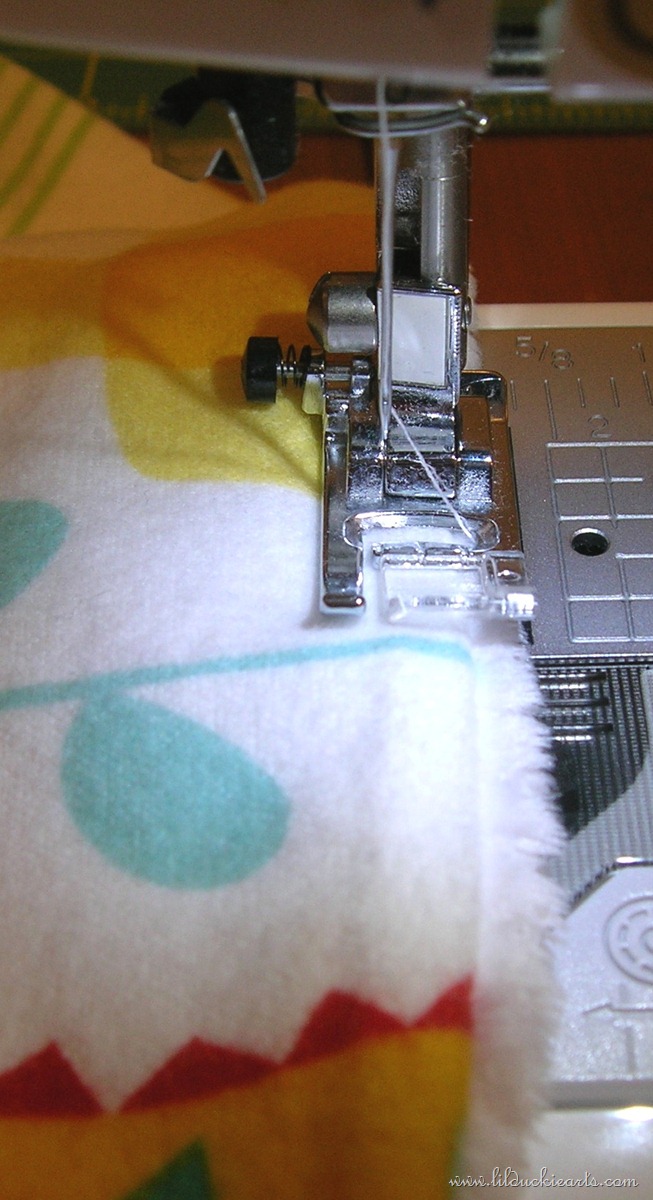
Sew around your rectangle with a 1/2” seam allowance – remember to back-stitch. Leave about a 2” hole at the end so you have space to flip it right side out! Don’t forget! (Yes.. these are all mistakes I’ve made in a sleepy state.. or a just-not-paying-attention-state).
Here we are. I’ve sewn around, leaving a 2-inch gap. Now you can trim any pieces that pulled themself off track. I had to trim about 1/2” from all sides! It’s also helpful to clip the corners (not pictured).
Turn right-side-out through your hole. I didn’t find any need to iron it.
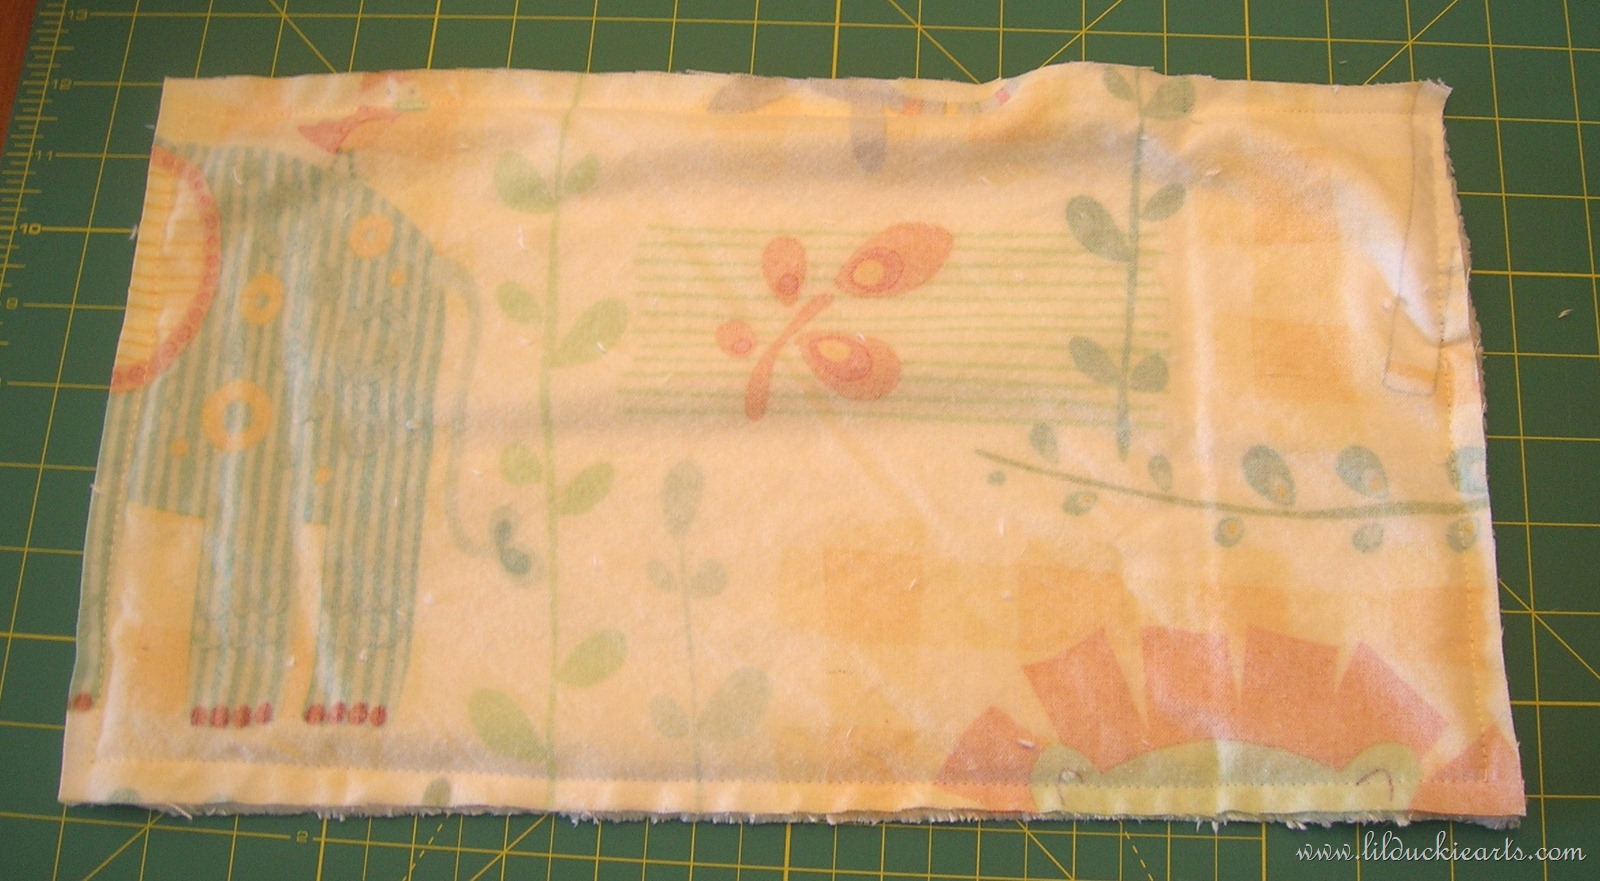
Top stitch all the way around, making sure you catch that hole you left and get it nice and closed. Top stitching lets you avoid hand-stitching it closed, and gives the burp cloth a finished look. It also helps keep the fabric from slipping out of shape.
Admire your work and give it to a friend!