Hiya,
Well, first of all.. I have a baby, ya’ll! She’s a precious little love bug. Little miss Lila came into our lives on Thursday, February 9th, 2012 at 8:50am, weighing 8lbs, 1oz. Sleep’s still an issue for me, and this is the first time I’ve gotten onto my computer in 12 days.. but I wouldn’t trade her for the world.

Now, back to the project! I wanted to make another nursing cover, so this time I thought I’d take on the challenge of making one with a second piece of boning lower down, so that the fabric doesn’t cover baby’s face. It turned out really well!
I got the original tutorial over at Freshly Picked, then modified it a bit to suit my needs, and the added piece of boning. You should be able to click on any of my photos to get a larger version and see more details.
Materials:
(2) 1” D-Rings (they sell them in packages of 2. If you can only find 3/4” D-Rings, those will work too)
1/4” Boning (16” and 22”)
2.25” x 28” piece of fabric (your long strap)
2.25” x 10” piece of fabric (your short strap where the D-Ring will attach)
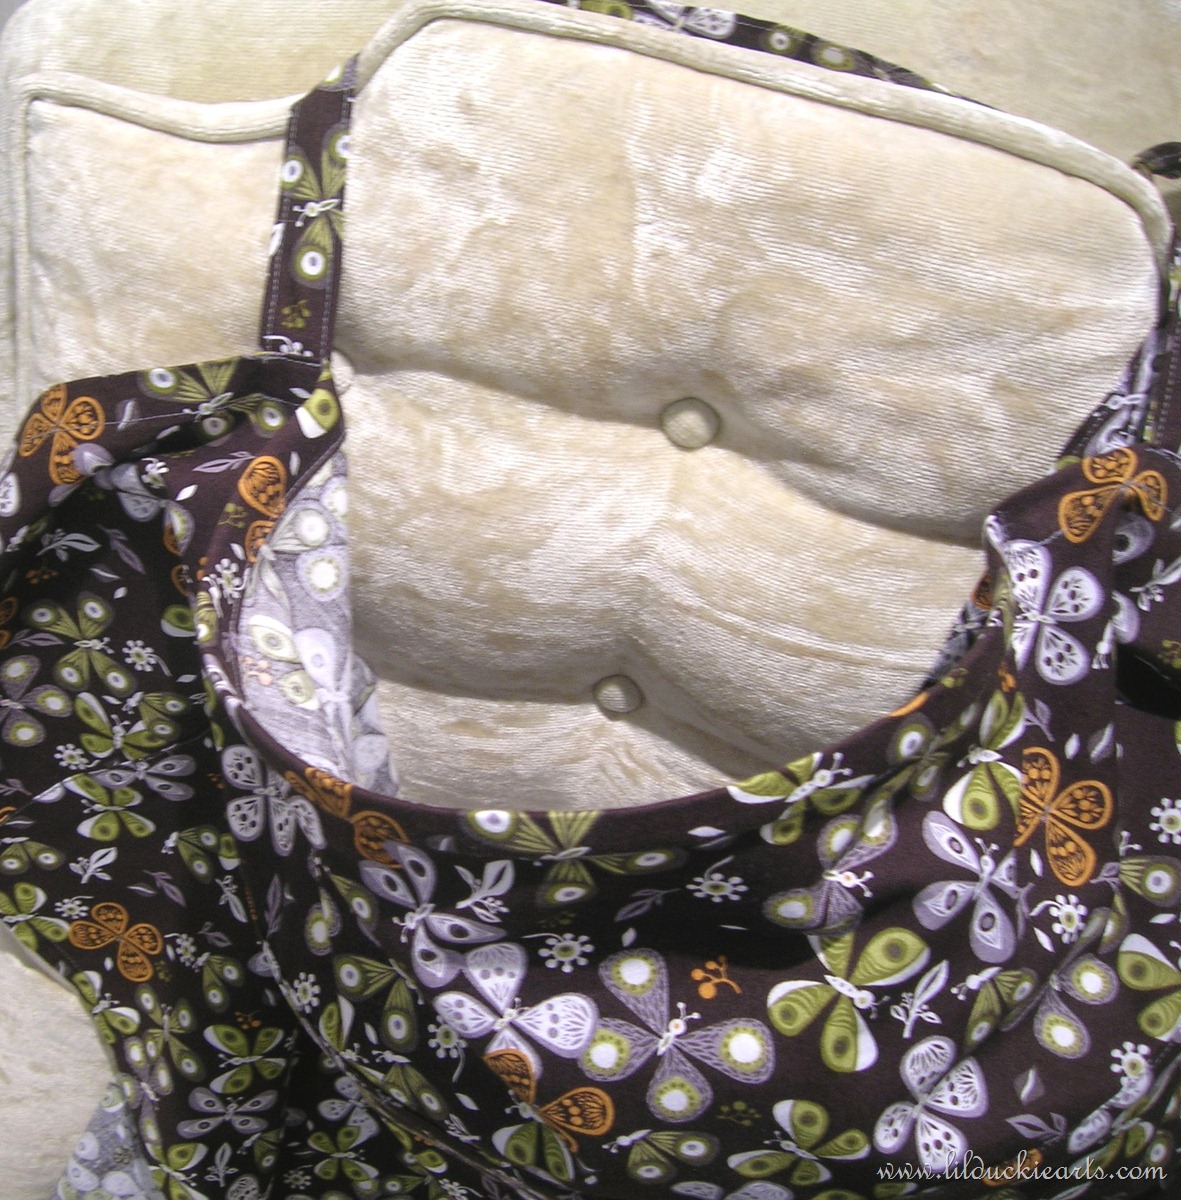
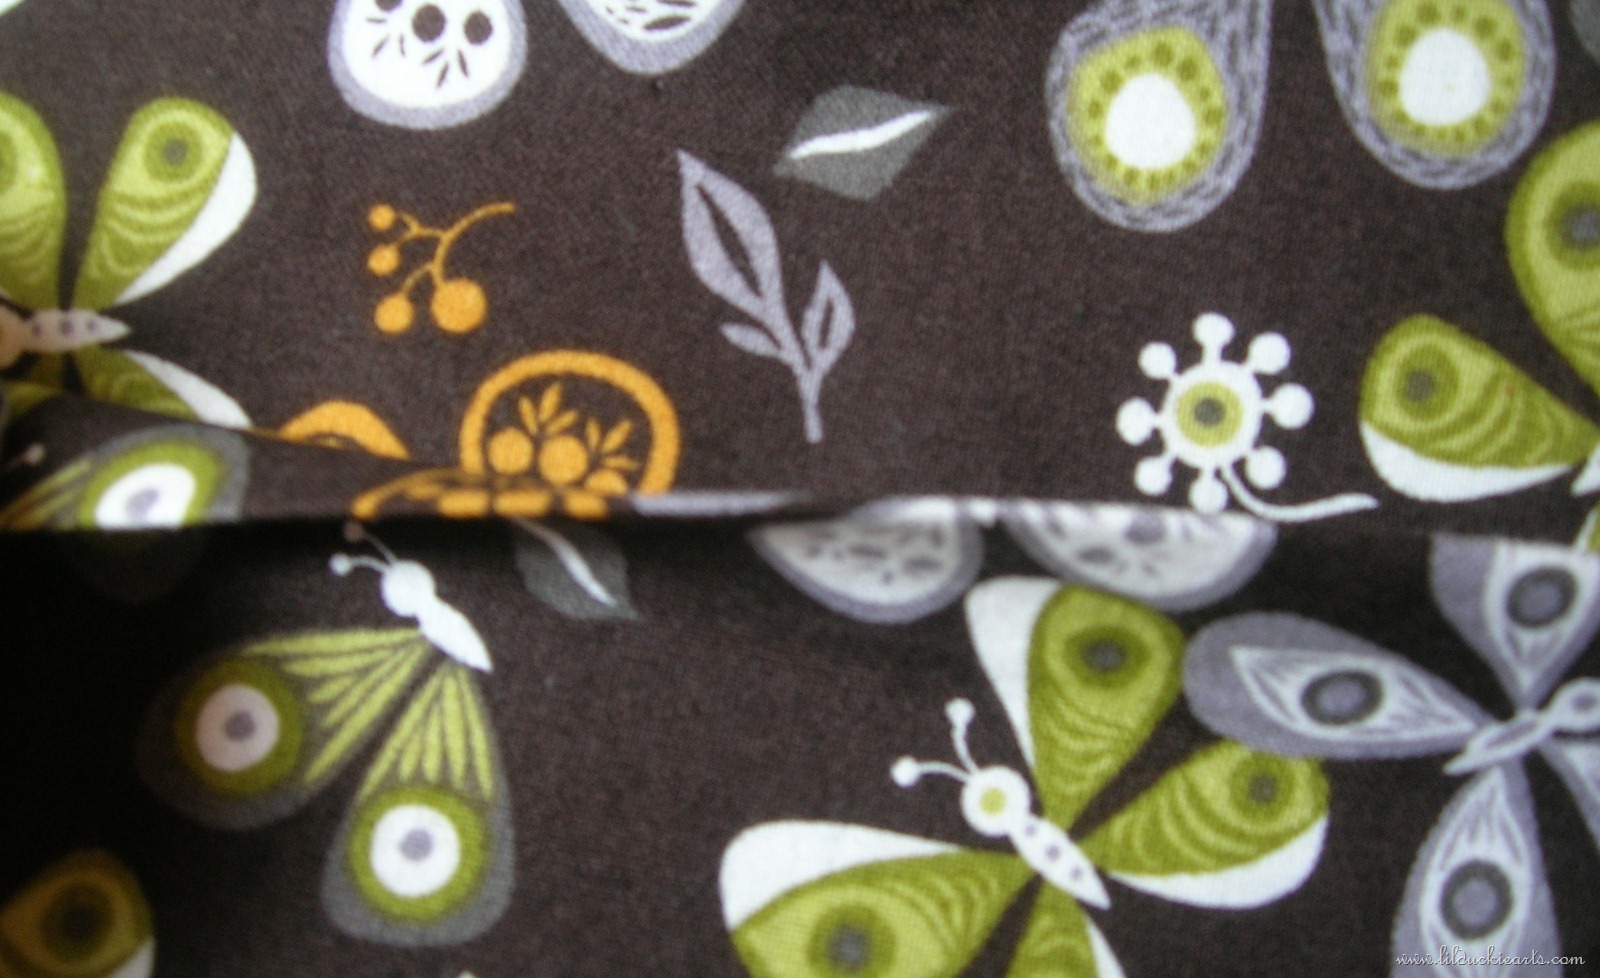
28” x 38” piece of fabric (the body of the nursing cover)
Here we go, Follow my tutorial below!
Assemble all your materials.
Straps:
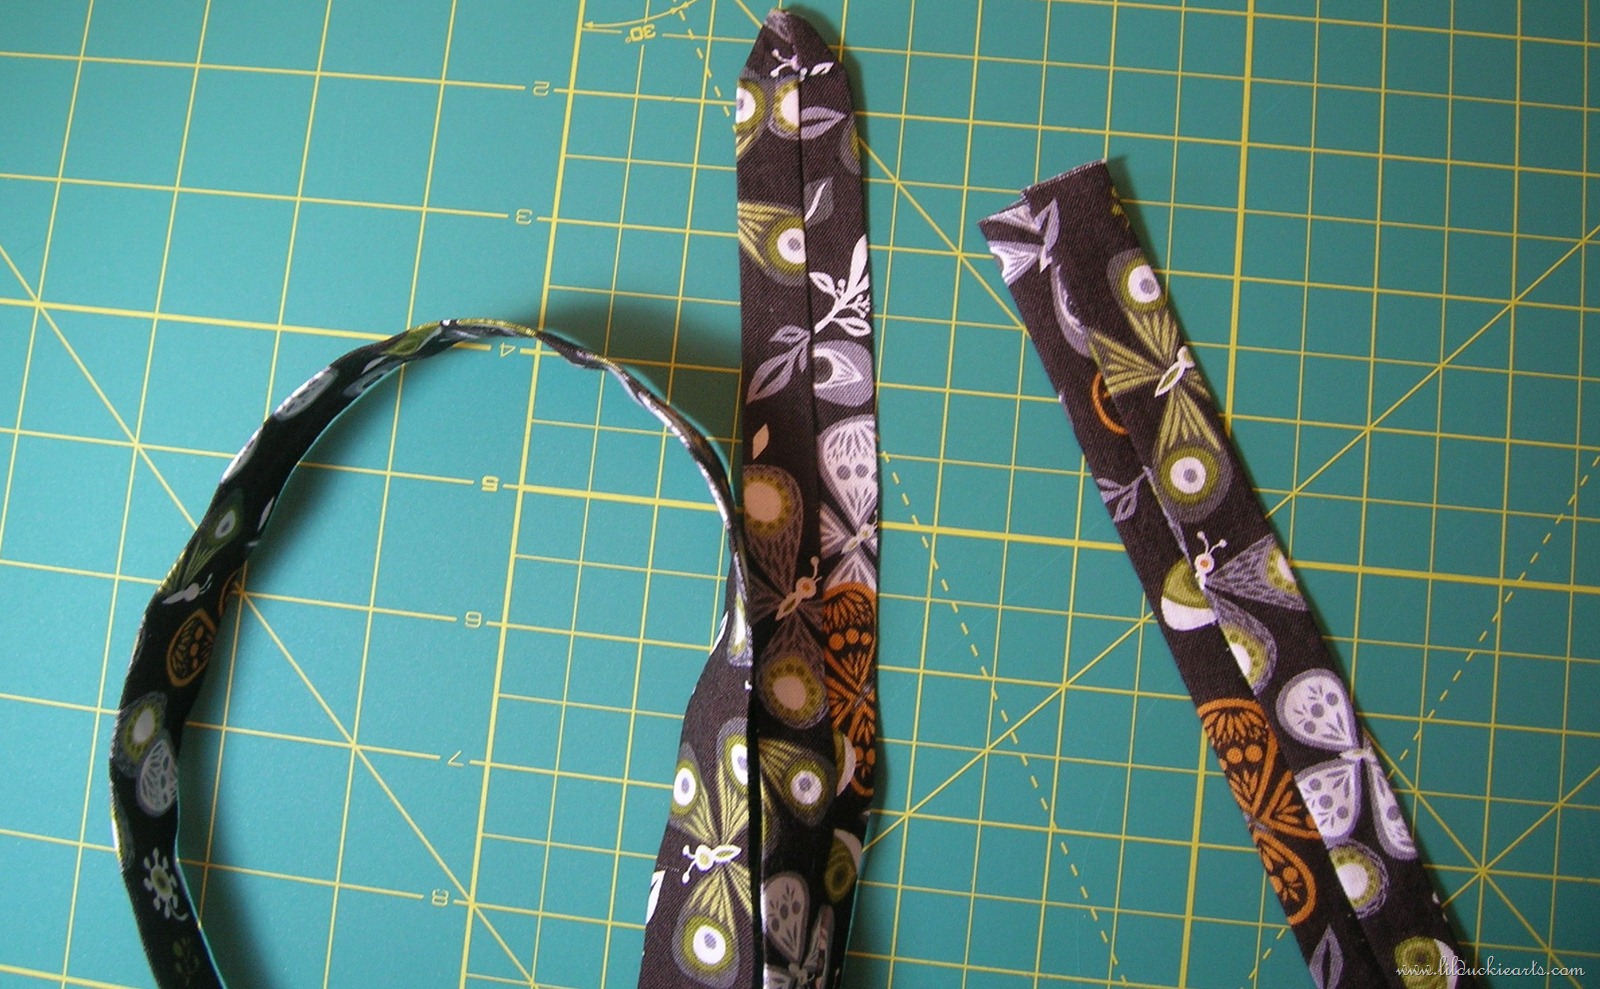
Fold your two strap pieces in half lengthwise, right sides together (don’t iron this just yet). Stitch the short piece just along the one long edge with a 1/4” seem. Stitch the long piece along the edge with a 1/4” seem, then end with a curve at one end (where I’ve drawn my purple line).
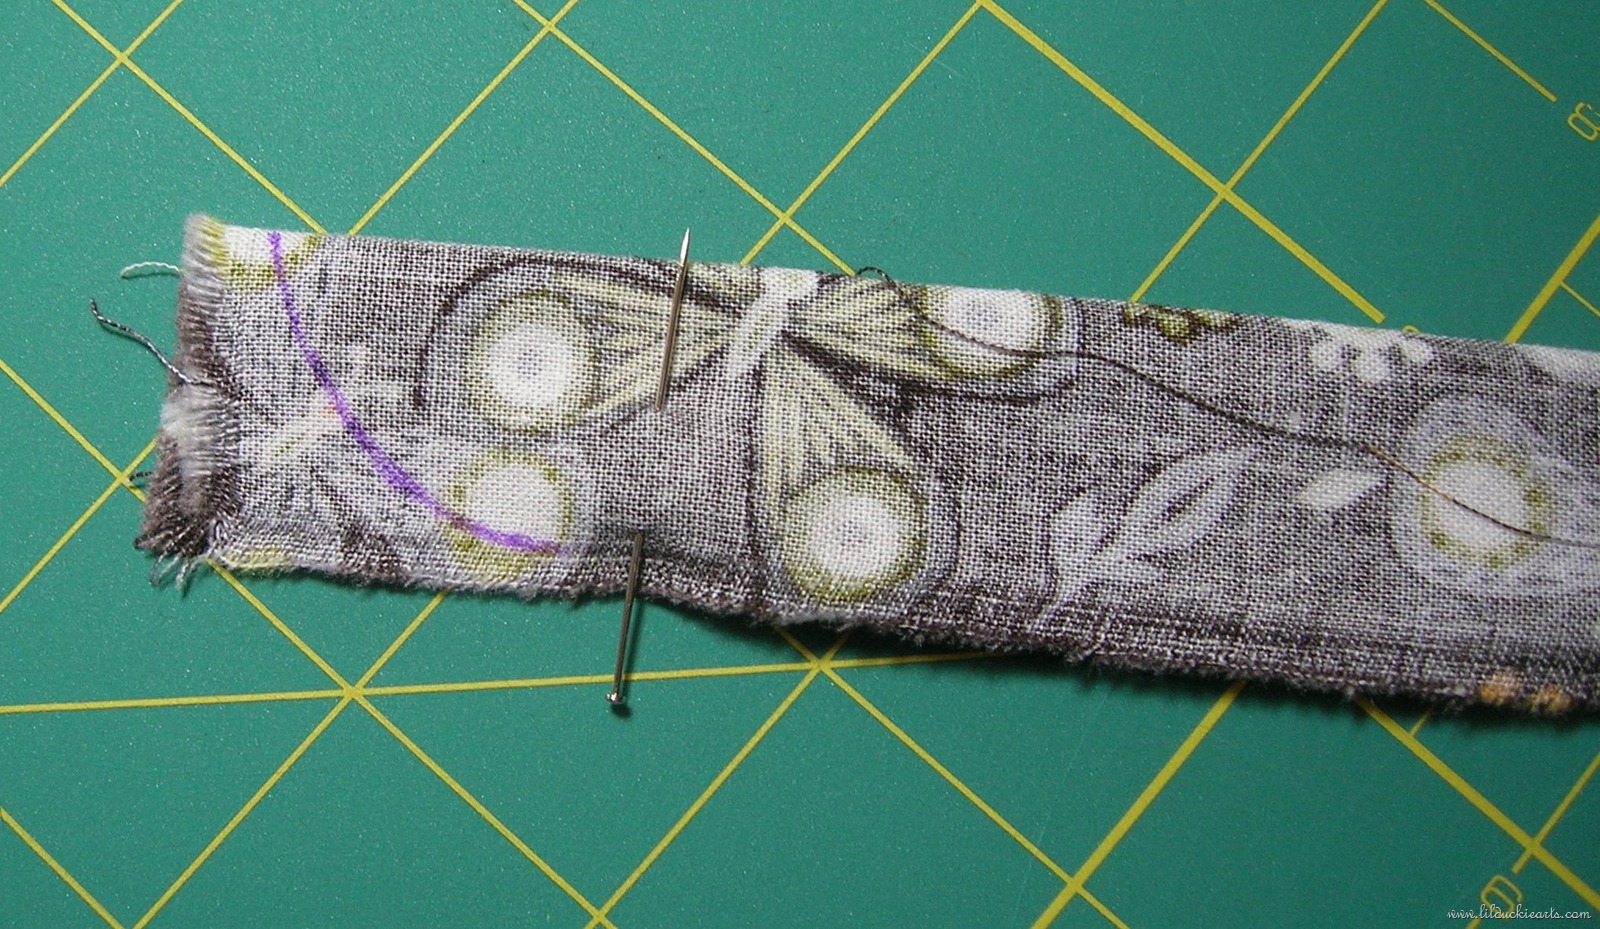
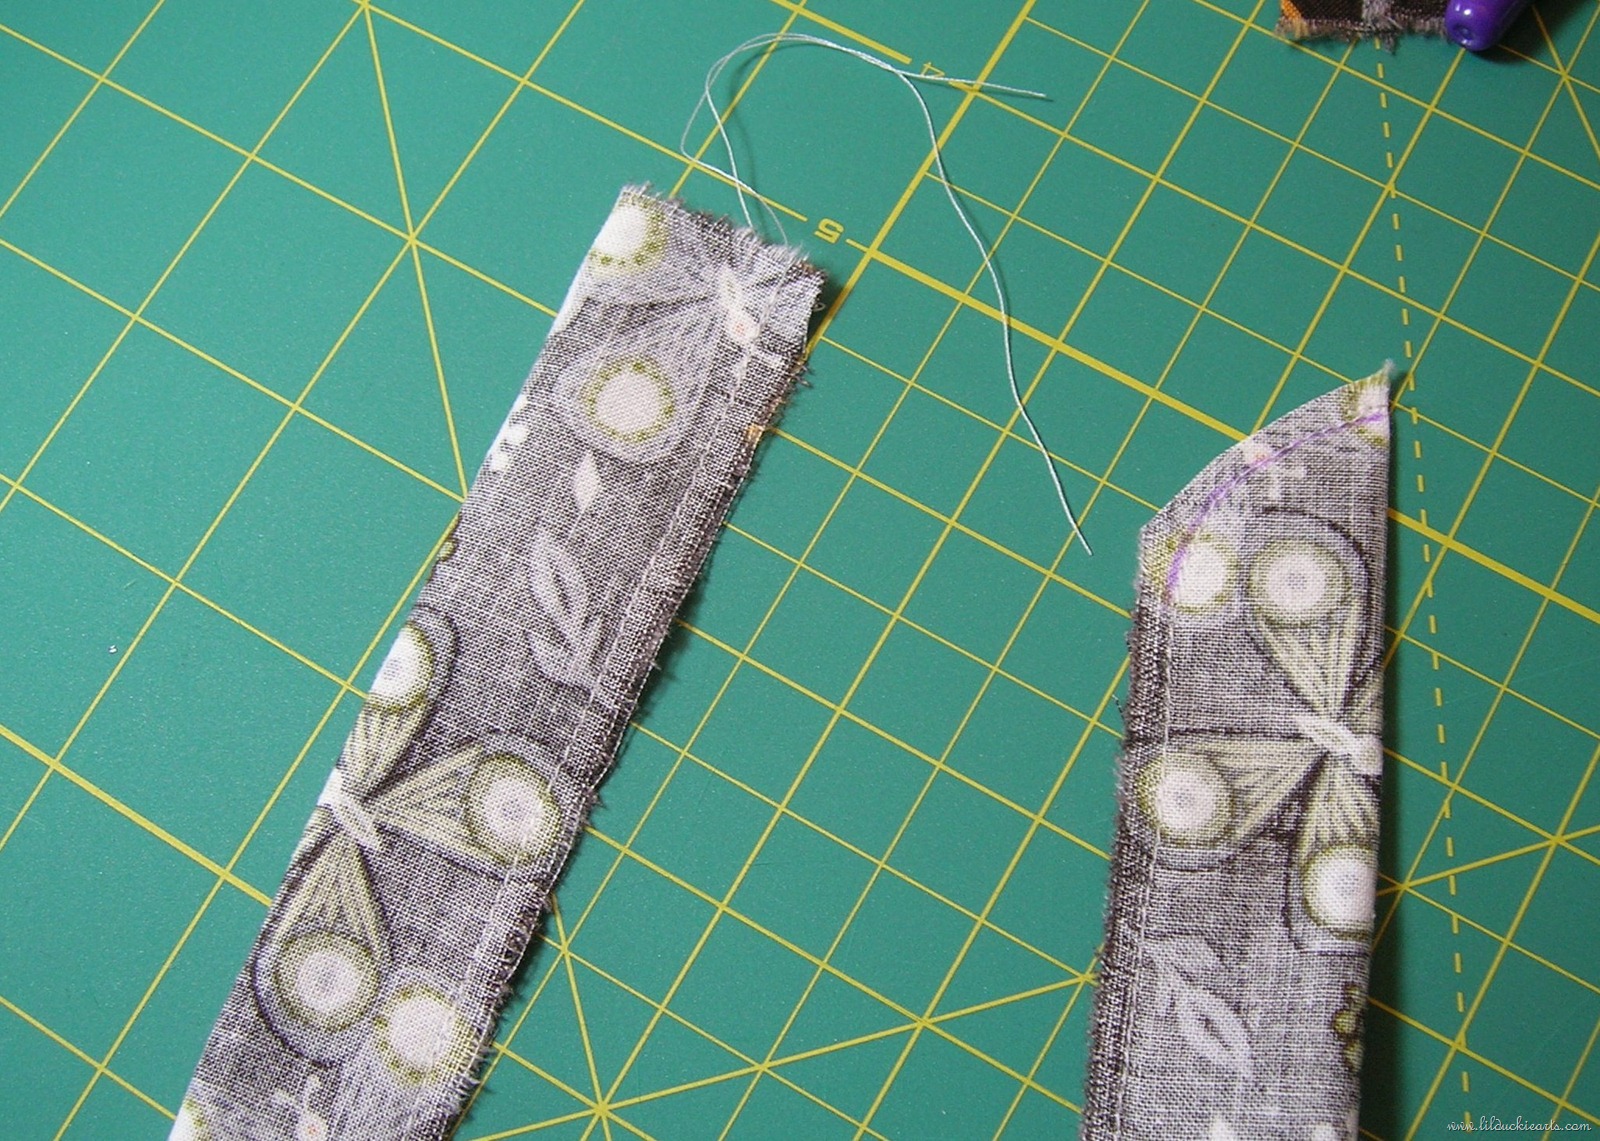
Turn both pieces right-side out. Your long piece will take some patience since one end is sewn shut. Deep breaths here!
Iron both pieces flat, but make sure the seems run down the middle (see the pictures). Your curved end turns into a nice little triangle tip, which will be easy to slip through the D-Rings when everything’s done.
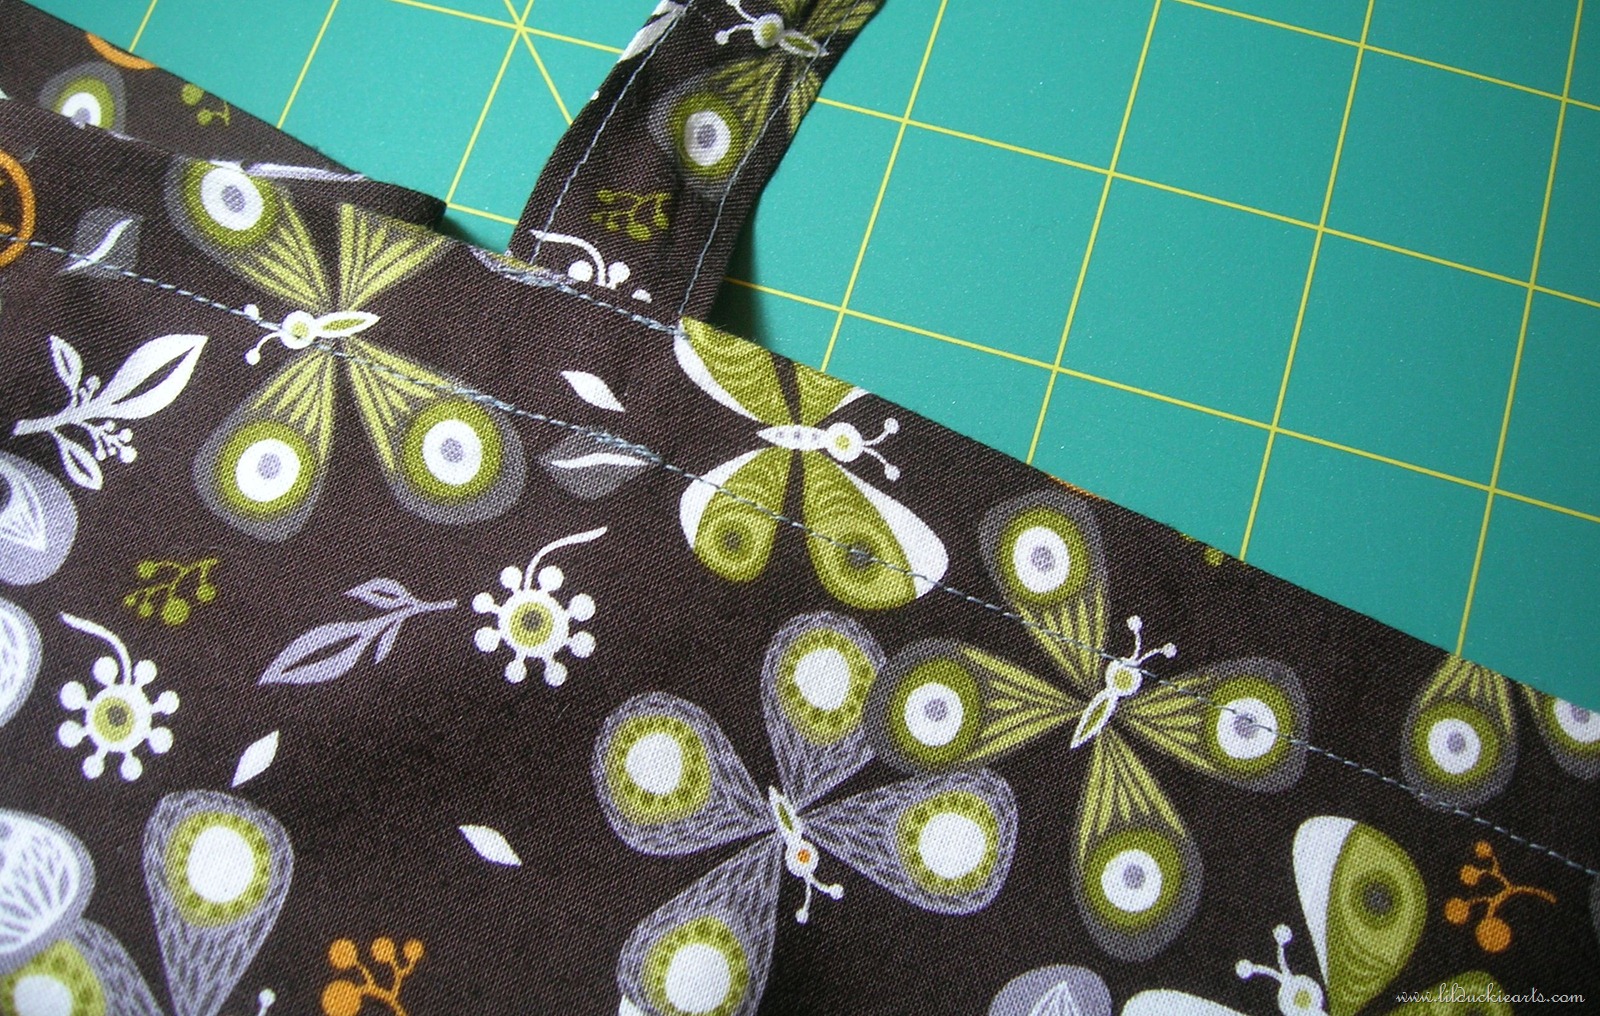
Top stitch around the long strap. I used about an 1/8” seem.
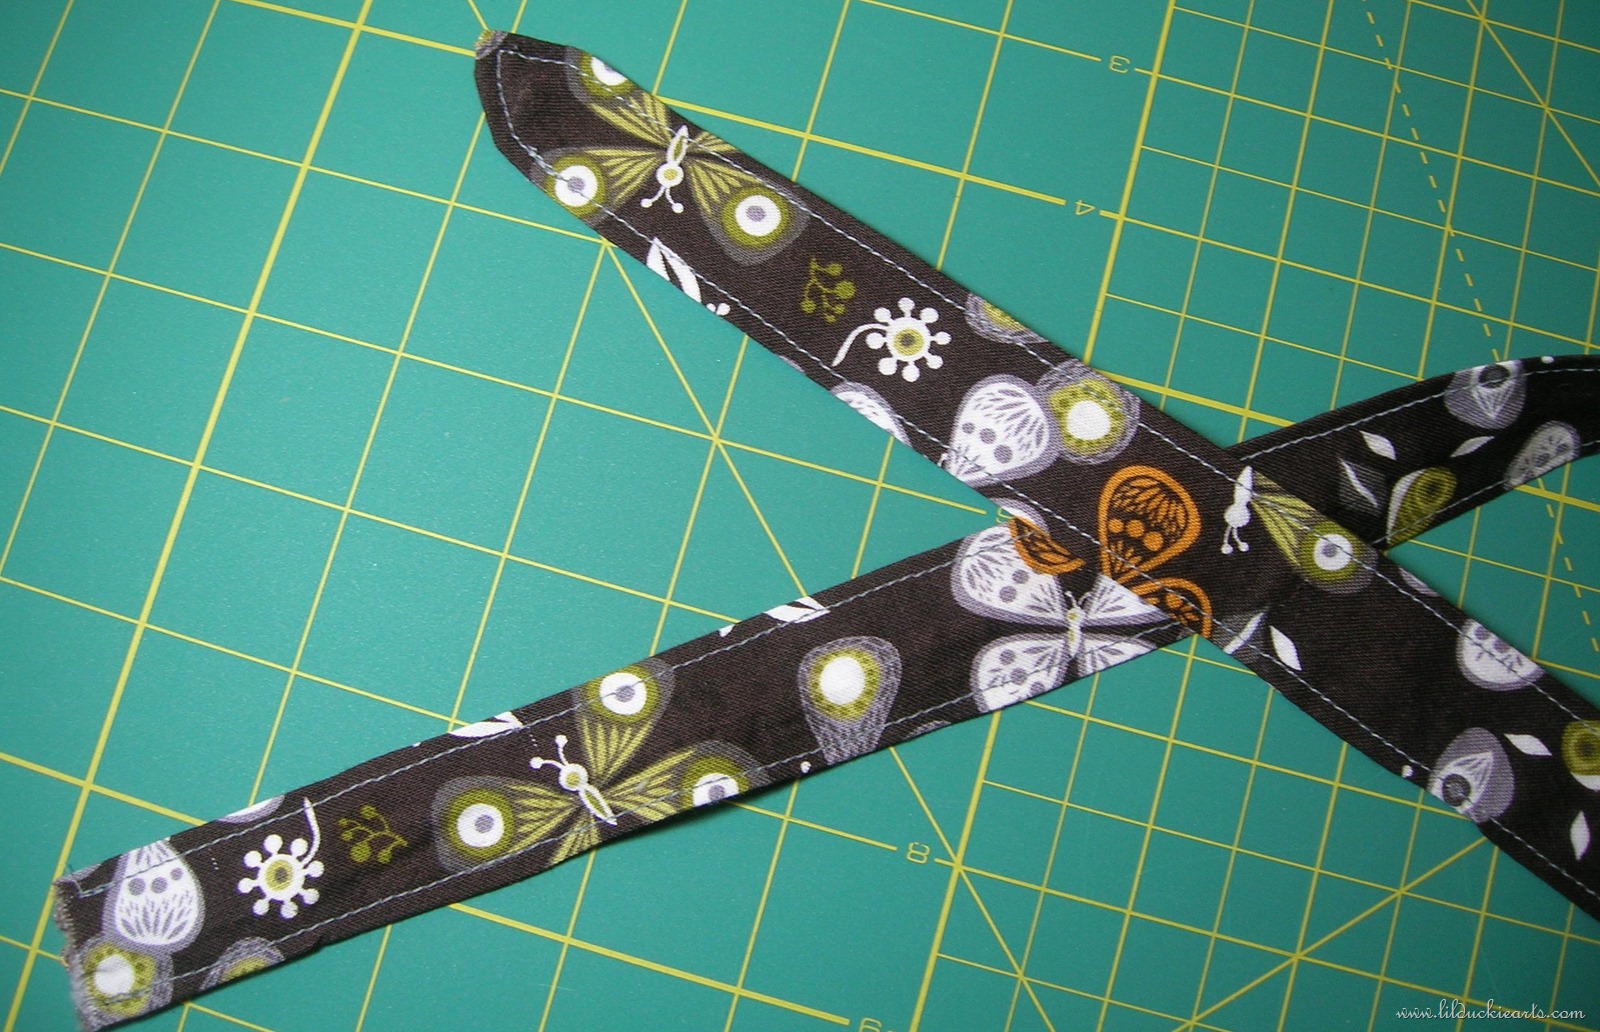
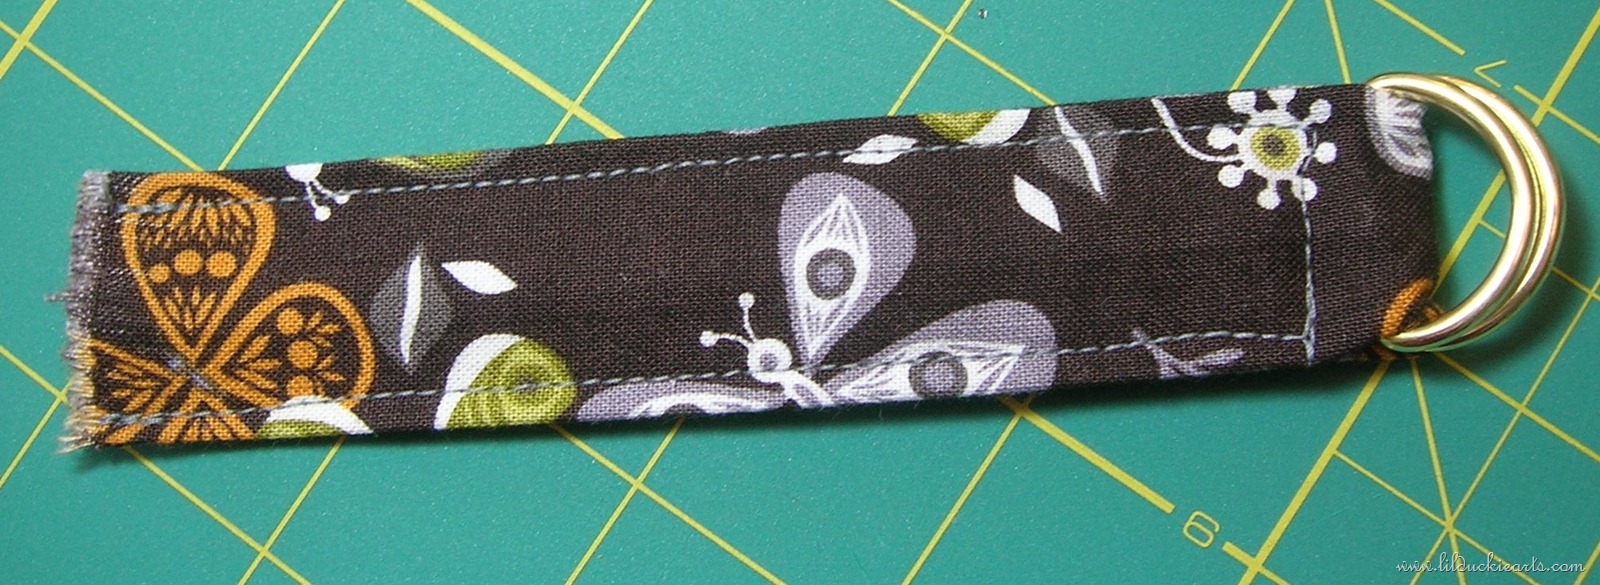
Fold the small strap in half around your 2 D-Rings, and stitch around the edges. Be careful when sewing under the D-Rings. Your stitching there might be a bit wiggly like mine. Don’t force your machine to sew super close. I did some extra backstitching to reinforce the stitching. OK, your straps are ready!
For the Cover:
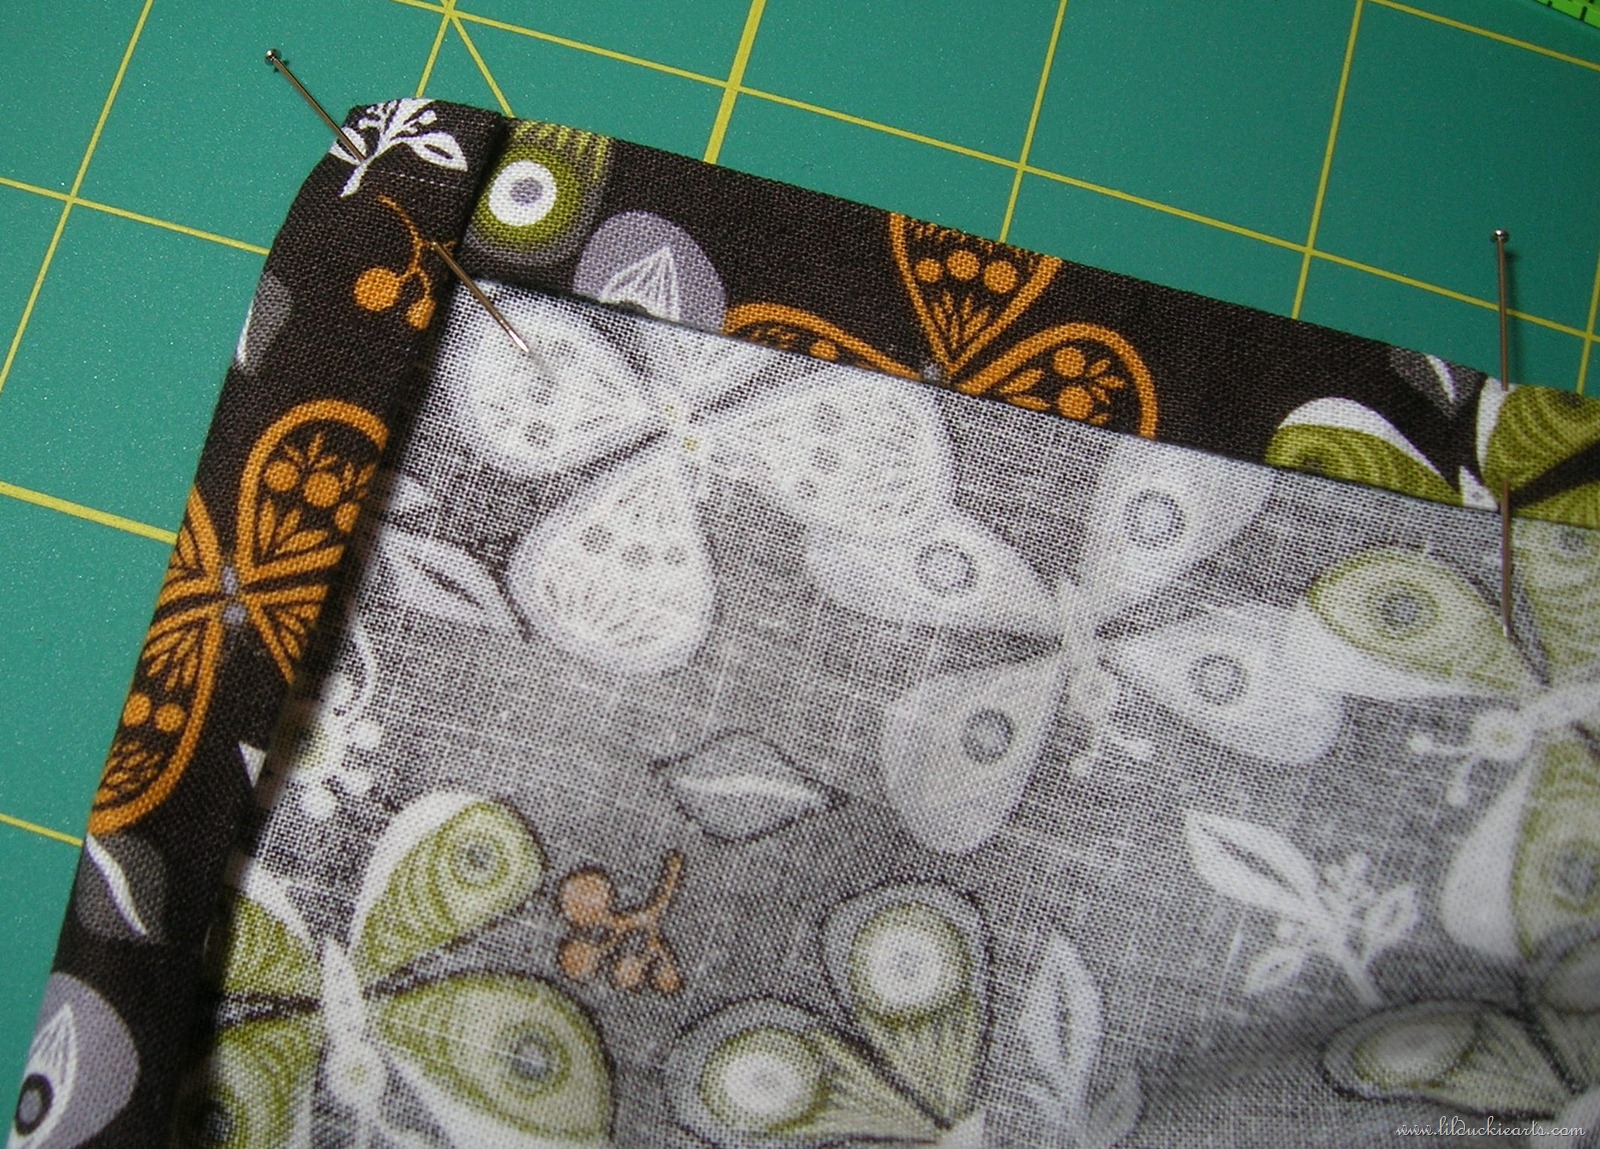
Fold sides 1/4” down, and iron. Then fold the bottom and two sides another 1/2” down, and iron (you’ll have a total of 3/4” by now).
Fold the top 3/4” down, and iron. You’ll be thankful of that extra space for the boning. Pin if you like.
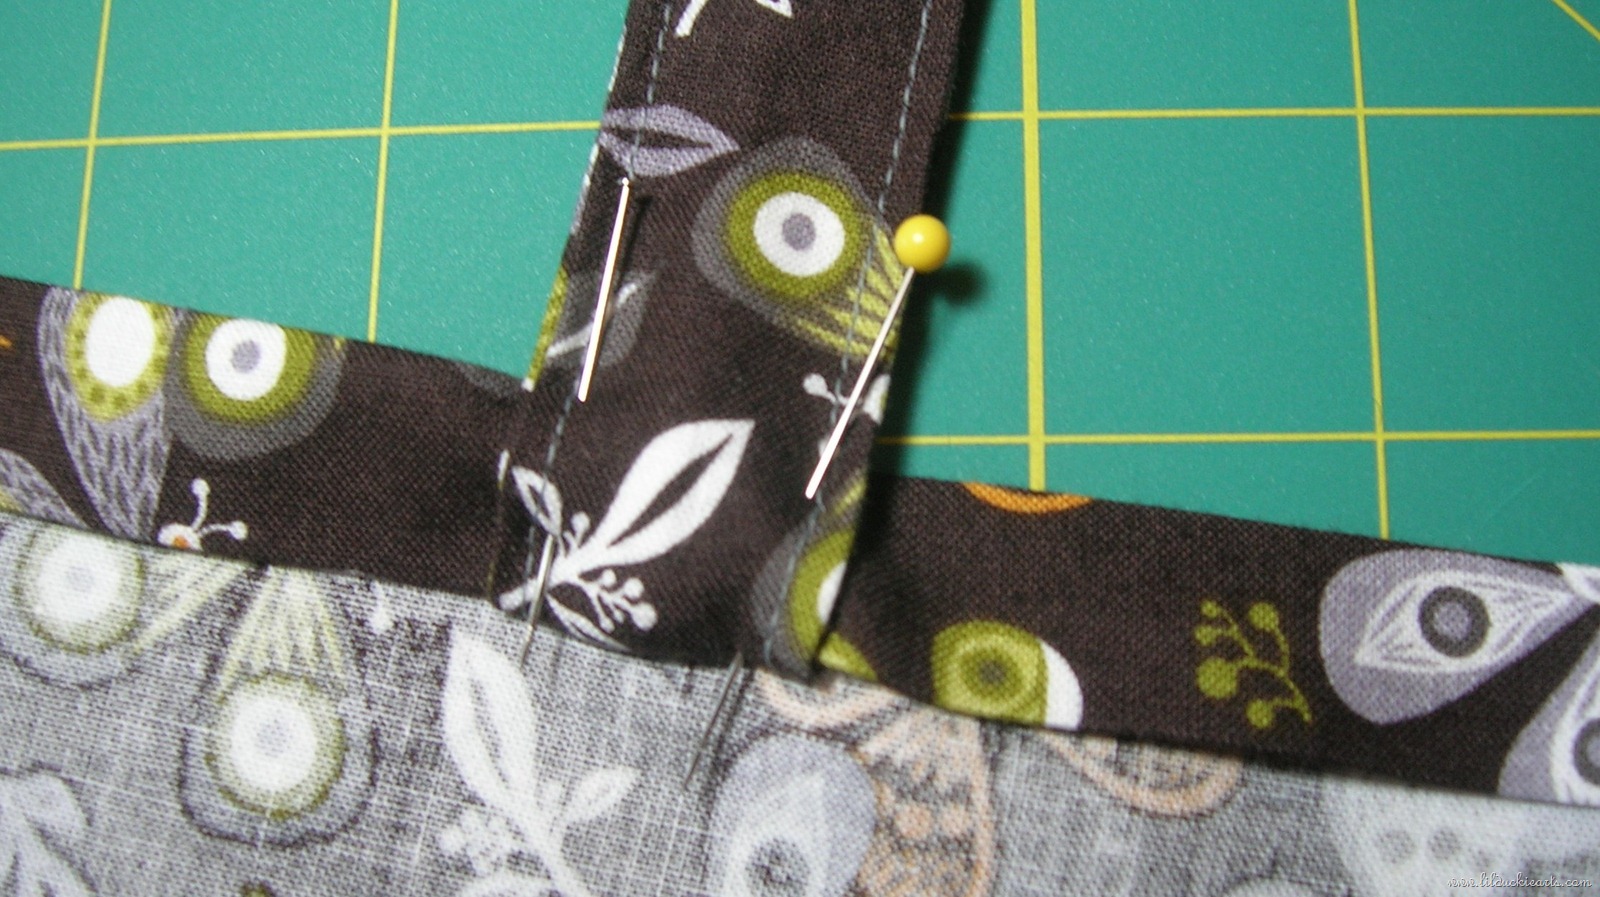
Pin each of your straps 10” from each side, on the TOP edge of your cover. Just tuck them under your ironed fold, like in my photo. Make sure the back or less-pretty sides are facing you. There should be about 16” between the two straps.
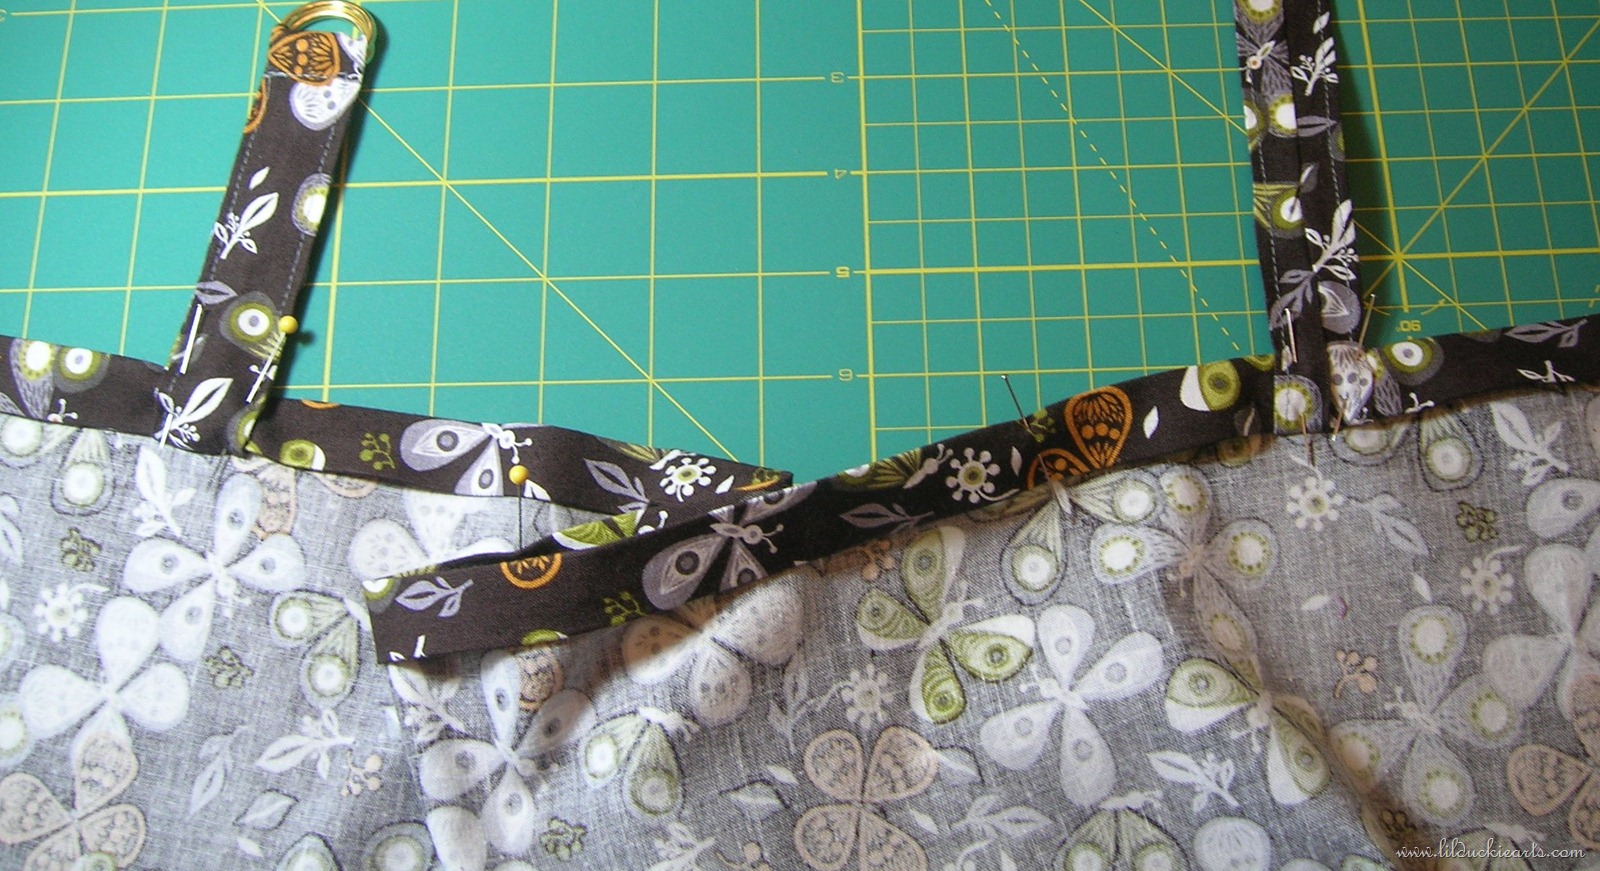
close-ups:

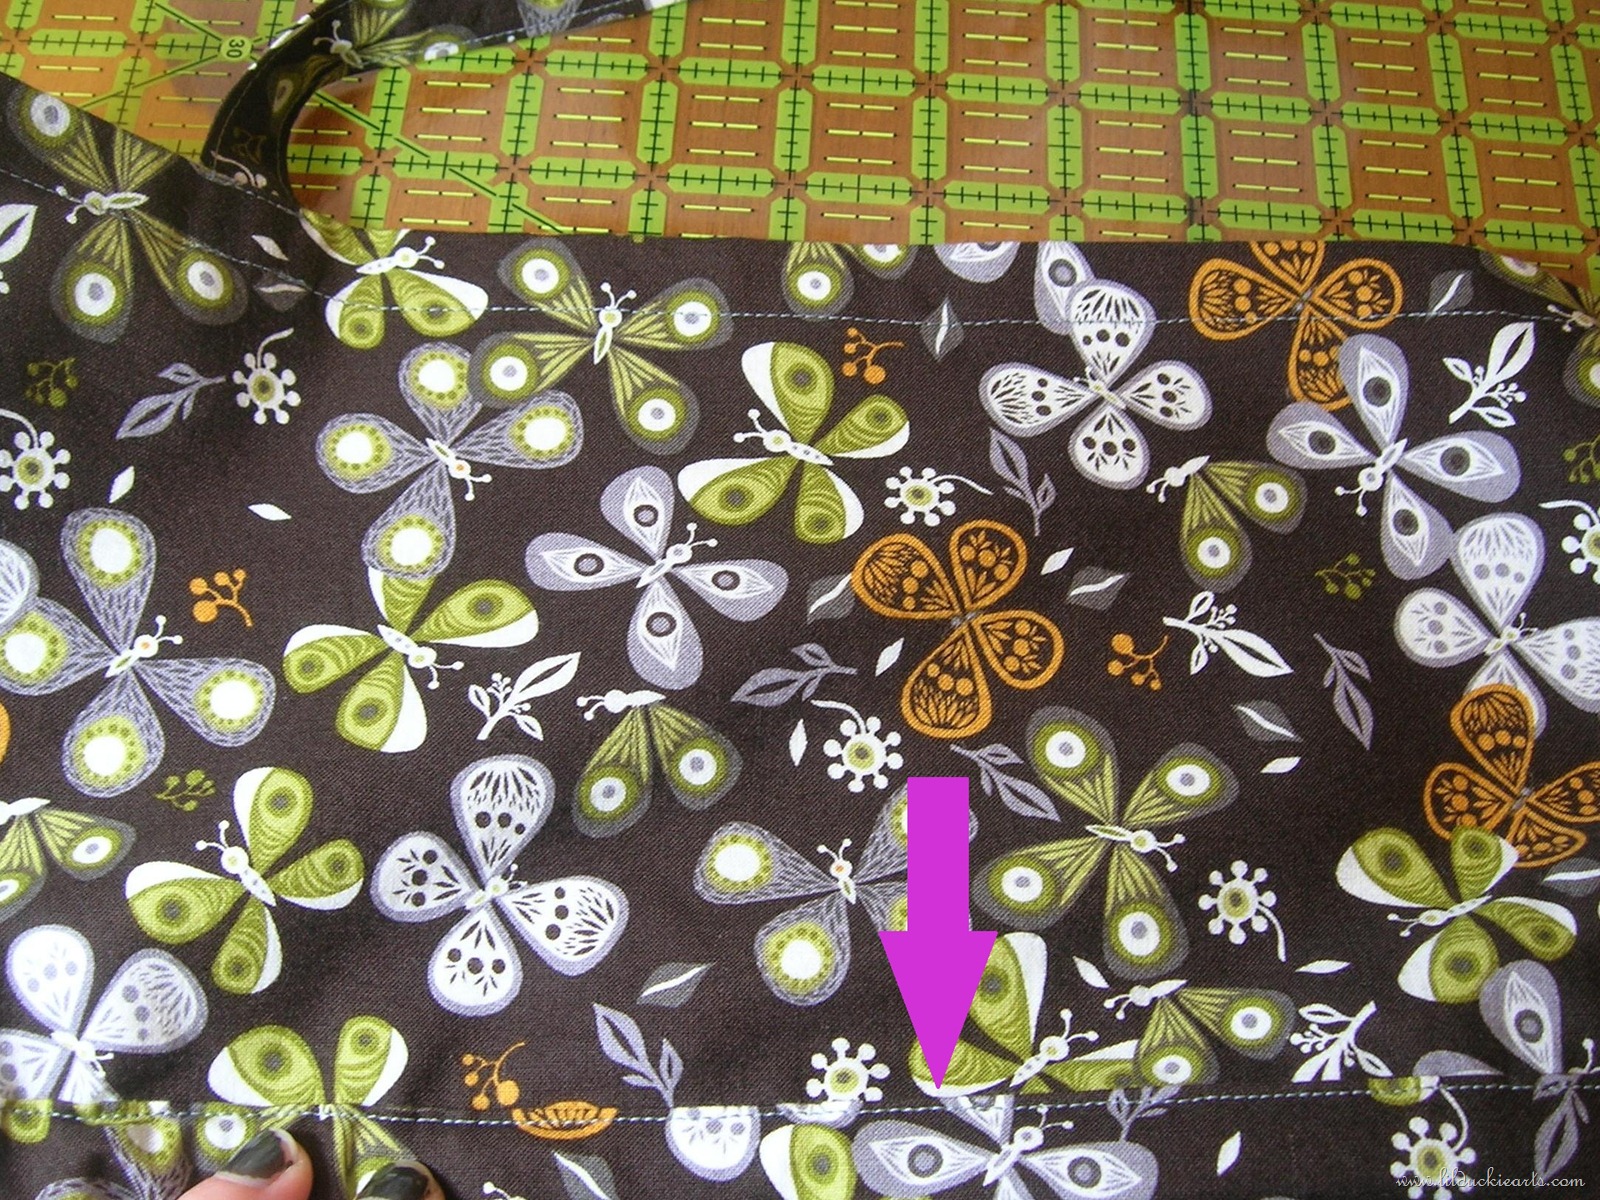
Topstitch along the bottom edge of that folded seem. Start 2” from your left strap (the D-Ring strap pictured above). This will be where your first piece of boning slips in.
Topstitch like that, going all the way around, just until you’ve sewn that D-Ring strap in place, leaving your 2” space beside it. Do some extra back-stitching over the straps.
Do a second row of top stitching over the top edge of both of your straps.
Now for your boning:
Snip a bit of the plastic back from each unfinished edge, and sew the edges shut so you don’t have pokey plastic bits stabbing you later.
Slip your16” piece of boning in through that 2” space we left, so the curve is away from your body when you’re wearing the cover. Stitch that 2” space closed.
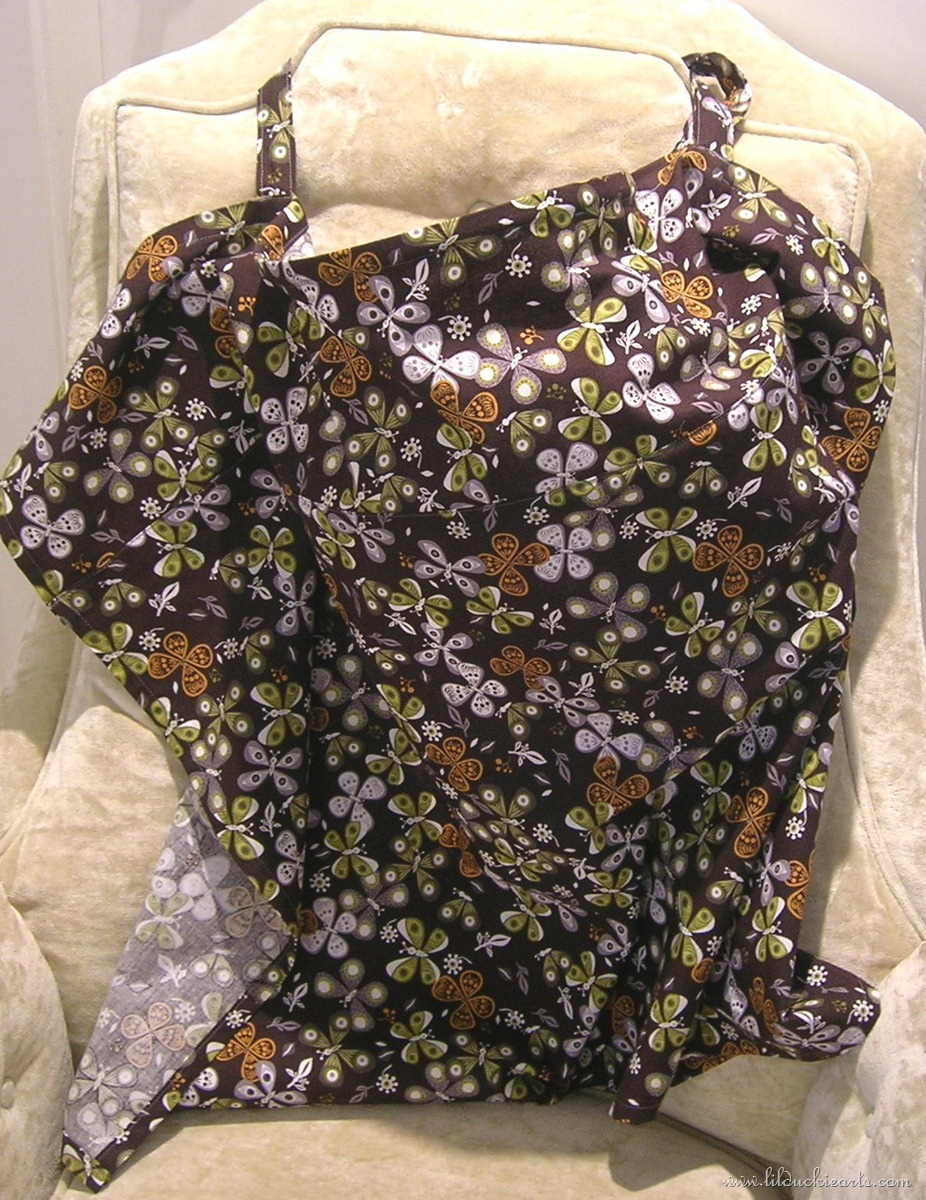
Hooray, you’re almost done! This is a perfectly functional nursing cover now, so you can stop here if you like. If you want to take it to the next level, keep on going!
Boning Part 2:
With the wrong side of the cover facing upwards, at 7 1/2” from the top, fold the top down towards the bottom of your cover, and iron.
Fold the cover back up towards you by 3/4” and iron again. It’ll create a little fold like in my image below.
It makes a similar fold on the right side:
Now topstitch along the top edge of your fold, with the right side of the fabric facing up. It should look like the picture below:
If you haven’t trimmed and stitched your longer piece of boning closed, do that now.
Slip the 22” piece of boning into the little pocket you’ve made, starting at one of the edges. I accidentally sewed both my edges shut, so my picture shows where I picked out some of the topstitching and slipped it in there. Oops.

Shift that piece of boning along until it’s centred. you should have about 7 1/4” on either side of it.
Sew your boning in there, next to each edge, so it doesn’t shift around.
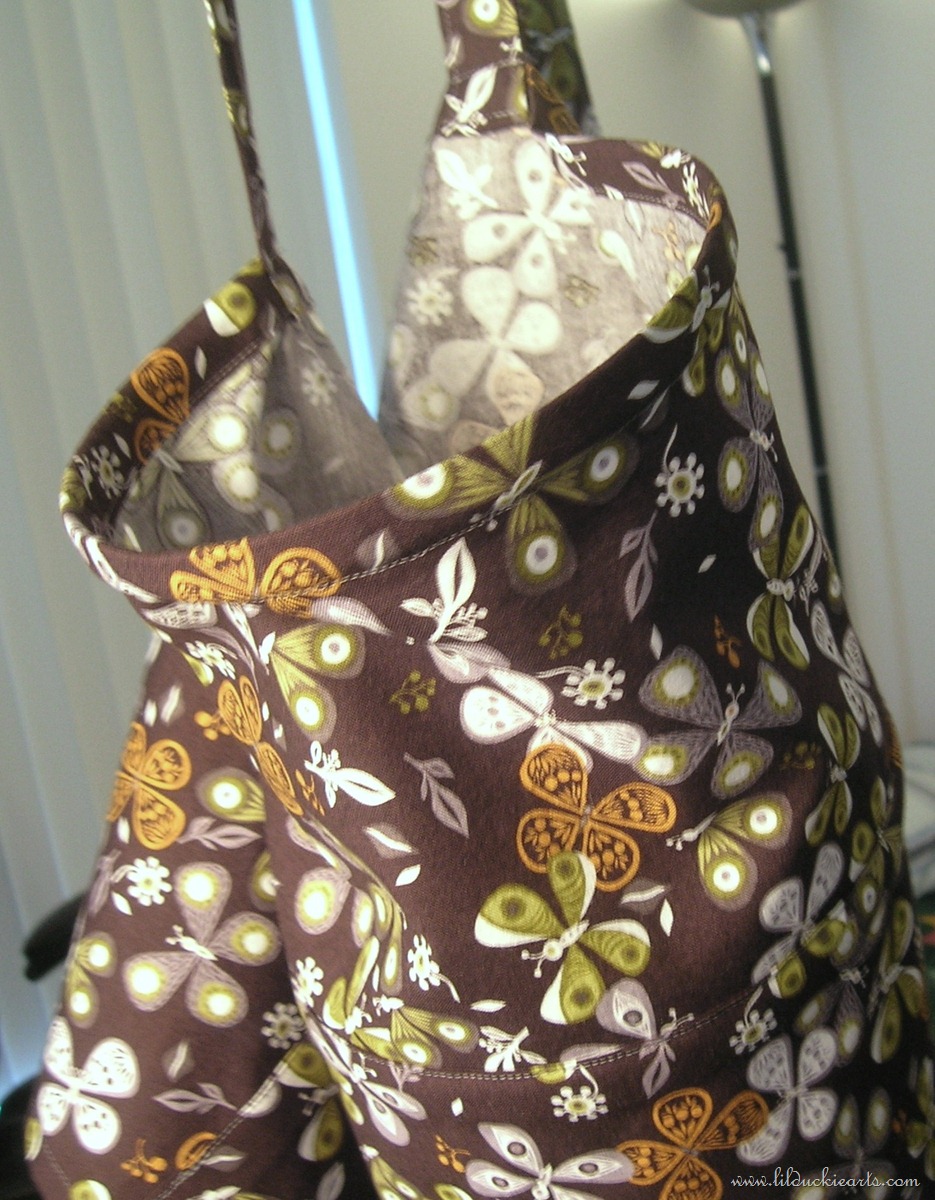
Done! Hopefully that all made sense. Please feel free to ask if you have any questions or if I’ve left out something important.

Shauna this is brilliant! I bought my “hooter hider” (lol) for nearly $60 and I wish it had a second piece of boning – great idea! You should sell these (I’ll buy one). Congrats again on your beautiful little girl :)
I think I’d have to increase my sewing skills before trying to sell these.. and come out of the no-sleep-brain-haze.