Hi there,
Mid-November? Say what?!? Sunny days and crisp air make it feel more like mid-October, and I’m definitely not complaining, except that hey, this doesn’t leave a lot of time until Christmas. Mid-November, you took me by surprise!
You know what this means? Only a month left of teaching… until Christmas? More than just that. A month left of teaching for my foreseeable future! I’ll be off after Christmas for this little baby we’re having. Woah. Don’t worry, it blows my mind too.
But wait, I made you a project! A Christmas project, so you don’t feel too far behind when you also realize that it’s mid-November.
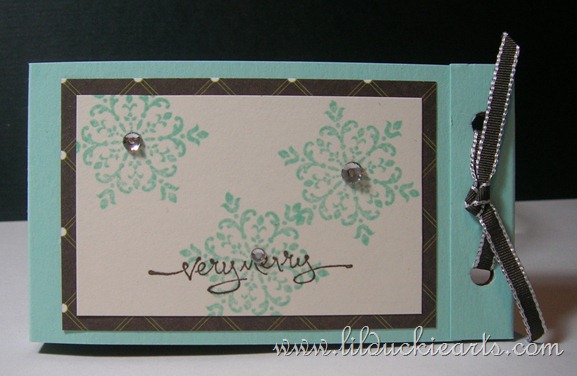
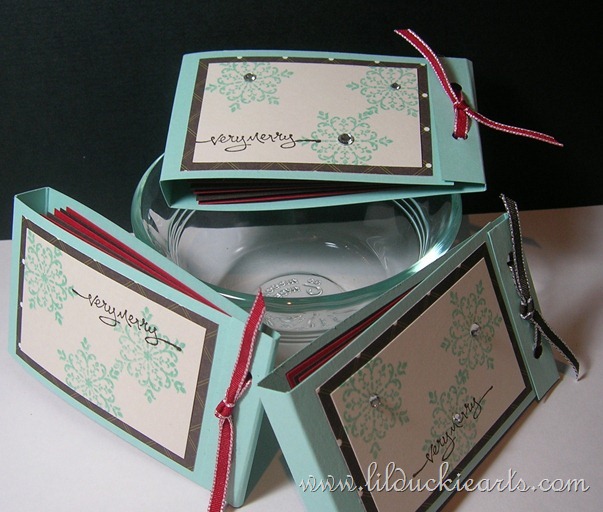
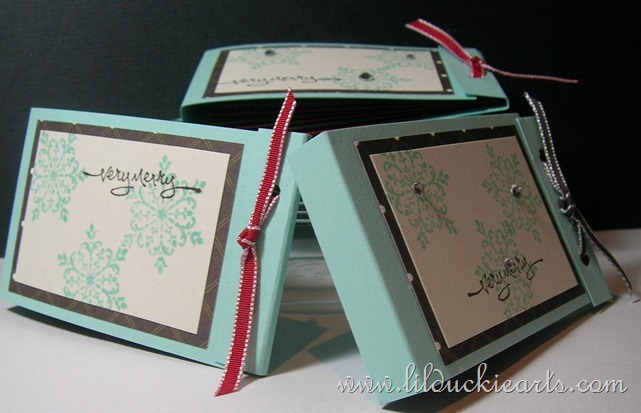
They’re little booklets of gift tags that easily tear out along a perforated edge. You can make lots like I did, then maybe give them as super cute gifts. Remember though, people kind of appreciate this kind of gift before Christmas, so they can fancy up their packages. Don’t go giving these on Christmas day or anything.
I’ve used a super cute combo of Pool Party, Early Espresso, and Real Red for this project. Pool Party pretty much works for everything.
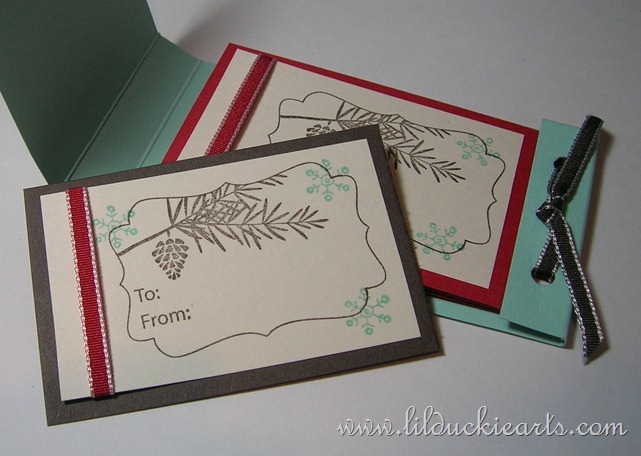
See, the tags tear out super simply and cleanly too. I just used my perforation tool from the Cutter Kit, on my Simply Scored tool. Easy, peasy. Oooh, also! The Crop-A-Dile came in super handy here, allowing me to punch all those layers of holes at once so I didn’t have to worry about lining them up afterwards.
How To
For the cover: Cut your cover piece to 8 1/2 x 2 1/4”. Score at 3 1/2”, 4”, 7 7/8”, and 8”. The front pieces are 2 3/4 x 1 3/4” (Very Vanilla), and 2 x 3” (DSP).
For the tags: Cute out 6 pieces of Very Vanilla measuring 2 3/4 x 1 3/4”, and 6 pieces of your backing cardstock (I used Real Red and Early Espresso) measuring 3 1/2 x 2”. Perforate all of those at 1/2”
Stamp your Very vanilla pieces as you like for the tags and front of the holder. Add a strip of ribbon to each vanilla tag piece, then adhere to the backing. Make sure not to cover your perforation marks! The front of the holder is the side that doesn’t have any score marks at the very end.
Gather your six tags together, staple the ends together (the end where the perforation is), just to hold them for the next step. Now slip them into your holder so they’re right side up compared to the front piece when it’s closed. OK, you’ve slipped them in, now carefully punch 2 regular sized holes using your Crop-A-Dile, then slip in some ribbon and tie a double knot. Voila!
Supplies
Cardstock: Pool Party, Early Espresso, Real Red, Very Vanilla, Letters to Santa DSP
Ink: Early Espresso and Pool Party
Stamps: Bright Hopes, Tags Til Christmas, and Short & Sweet
Accessories and other: Basic Rhinestones, Early Espresso and Real Red 1/8” Taffeta Ribbon, Crop-A-Dile, Cutter Kit, Simply Scored Tool
Enjoy!


