I just received an email request to do a quick blog post on a web-based tool called Photovisi, that allows you to make photo collages on the site, then download them to your computer.
My first instinct was “blah, spam!” But then I read the email and thought about how I have no collage-making software right now, and since I host my own blog (ie: I don’t use Blogspot.com or WordPress.com), I don’t have built-in collage software. I decided to take the leap and click on the link. I don’t know about you, but I was surprised that I actually liked what I found!
What I like about Photovisi
- It’s Web-based (no program to download)
- It’s super quick and easy
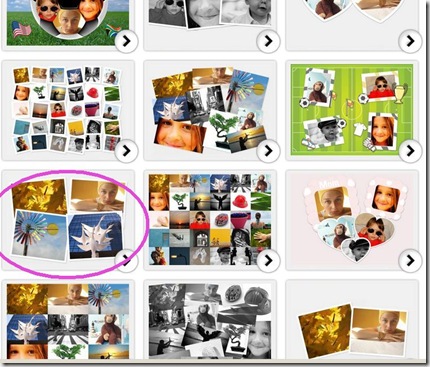
- They have different collage templates to choose from
- You can edit (rotate, resize, omit) pictures in your collages
Here’s a collage I made of my last set of cards: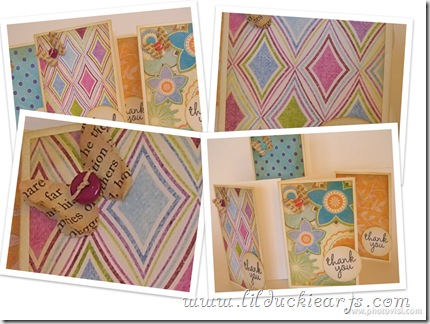
Check out a quick photo-tutorial after the jump (It’s pretty self-explanatory, but hey, who doesn’t like a tutorial?!)
1) Head on over to the Photovisi website and click on the “click here to start!” button
3) Add your pictures – click ‘Add Items’ then ‘Photos from computer’ 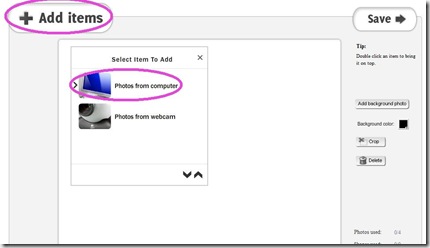
4) You Can edit the photos you chose by resizing or rotating them. Here are mine.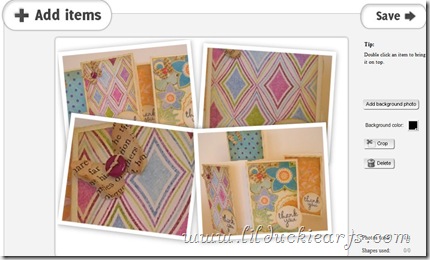
5) Select your resolution. I usually choose higher resolutions.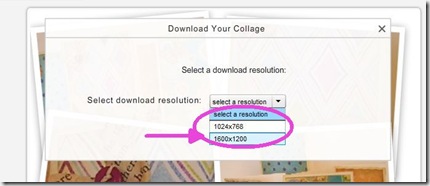
6) Now you need to upload the pictures from your computer, to the website. Click ‘upload now’ 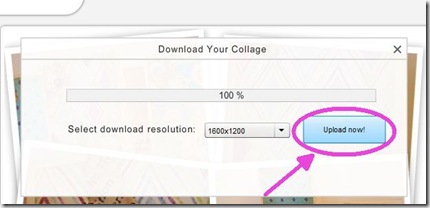
7) Time to download the collage file to your computer. Yep, click the download button.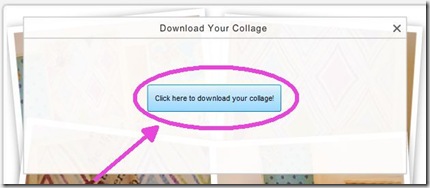
8) Not quite done. Now it takes you back to what looks like the main page, but it’s not. You need to again click to download. (see picture)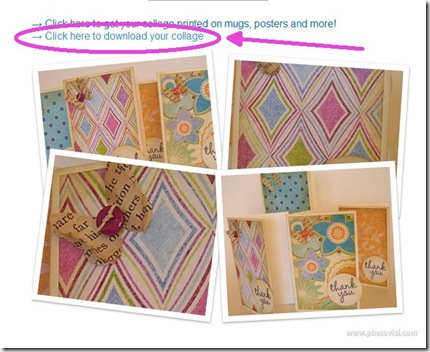 Depending on what web browser you use, your download process will be different. Maybe a window pops up for you, maybe it doesn’t. In Firefox, it does, in Chrome, it doesn’t. I have no idea what IE does, as I won’t go within 100miles of that ;-)
9) Use your collage! You can post it to your blog, upload it to facebook (they also have a facebook app to make that easier), use it in a digital album.. go play!
Enjoy :-)


